Preparing a drawing.
For cabinet makers, preparing a kitchen drawing for AI rendering starts with a clear hand sketch, 2D elevation or CAD screenshot. This guide covers what Asterlyn Space reads and what to check before you render.
Asterlyn Space renders the drawing you already have. It doesn’t need a special format or a clean 3D model. It does need to read your file the right way, and it can only reproduce what the drawing shows. This guide covers what to check before you press Render.
What to upload
Any of these works as a starting point:
- a hand sketch, photographed or scanned;
- a flat 2D elevation;
- a screenshot from your 3D CAD program or SketchUp;
- a photo of the room that is there now (see the photo guide).
Upload it as a JPG, PNG or WebP image, up to 25 MB. An image is what gets read straight after upload, so if your drawing lives in a PDF, export or screenshot the page first.
What reads well
- The biggest, sharpest version you have. Fine detail like a handle or a finger pull needs pixels to be drawn in. A small screenshot of a whole room leaves each drawer front only a few pixels tall.
- The runs you want built, clearly drawn. The render reproduces the runs, doors and drawer fronts where the drawing shows them. It won’t add a run you didn’t draw, and it won’t move one.
- Colour only where you mean it. Anything your drawing already colours in is kept as drawn. If you’ve filled in a timber benchtop (countertop) or a coloured island, expect to see it come back that way.
Check how your file was read
After upload, the project page shows a card called How we read your file. The first thing on it is the Read this file as switch, with three answers:
- Drawing: a line drawing or plain 3D visual, rendered from scratch in your finishes.
- Drawing with the colours already on it: every colour, timber and finish on it is kept as it is, and your material picks aren’t put over it. Render it first, then change runs with the colour buttons.
- Photo of an existing kitchen: renovated in place, keeping the room, the light and the camera.
The app guesses when you upload. A photoreal 3D visual can look like either a drawing or a photo, so check the answer before you confirm. Your first render starts when you press Confirm and render.
Sheets with several drawings
A lot of makers draw a whole job on one page: kitchen, laundry, vanity. You don’t need to cut that up yourself.
Upload the whole sheet
Don’t crop it into pieces first. A page with several drawings on it is split on its own gutters, the strips of bare paper between the drawings.
Untick what you don’t need
The project page says how many drawings it found. Every one starts ticked. Untick a title block, or an elevation of a room you already have in 3D.
Press Cut these out
Each drawing becomes its own project and takes its room from the caption under it, so a laundry is rendered as a laundry and a kitchen as a kitchen.
Tidy up, then render
Nothing renders until you press the button, so you can check each project’s name and room before you spend anything.
Two views of the same room side by side are treated as one drawing, not two projects. The sheet is only split when its gutters make a grid, or when it holds three or more drawings.
The grey feature tick
If you shade runs grey to show where the feature colour goes, tick Grey marks the feature colour on the project page, under the file. The runs you shaded come back in the scheme’s feature colour and the white ones in its quieter shade, so the picture shows the split you meant.
It’s a tick rather than a guess because most drawing programs shade every cabinet grey by default, and there’s no telling that grey from yours by looking. Left off, grey is read as drawn.
Hand sketches
A freehand sketch has wobbly lines and gaps that a CAD drawing doesn’t. Tick Hand sketch on the same card and the app keeps your runs, your counts and where the sink and cooktop sit, then builds a straight, square kitchen from it. Leave it off and your lines are followed as drawn, the way every other drawing is.
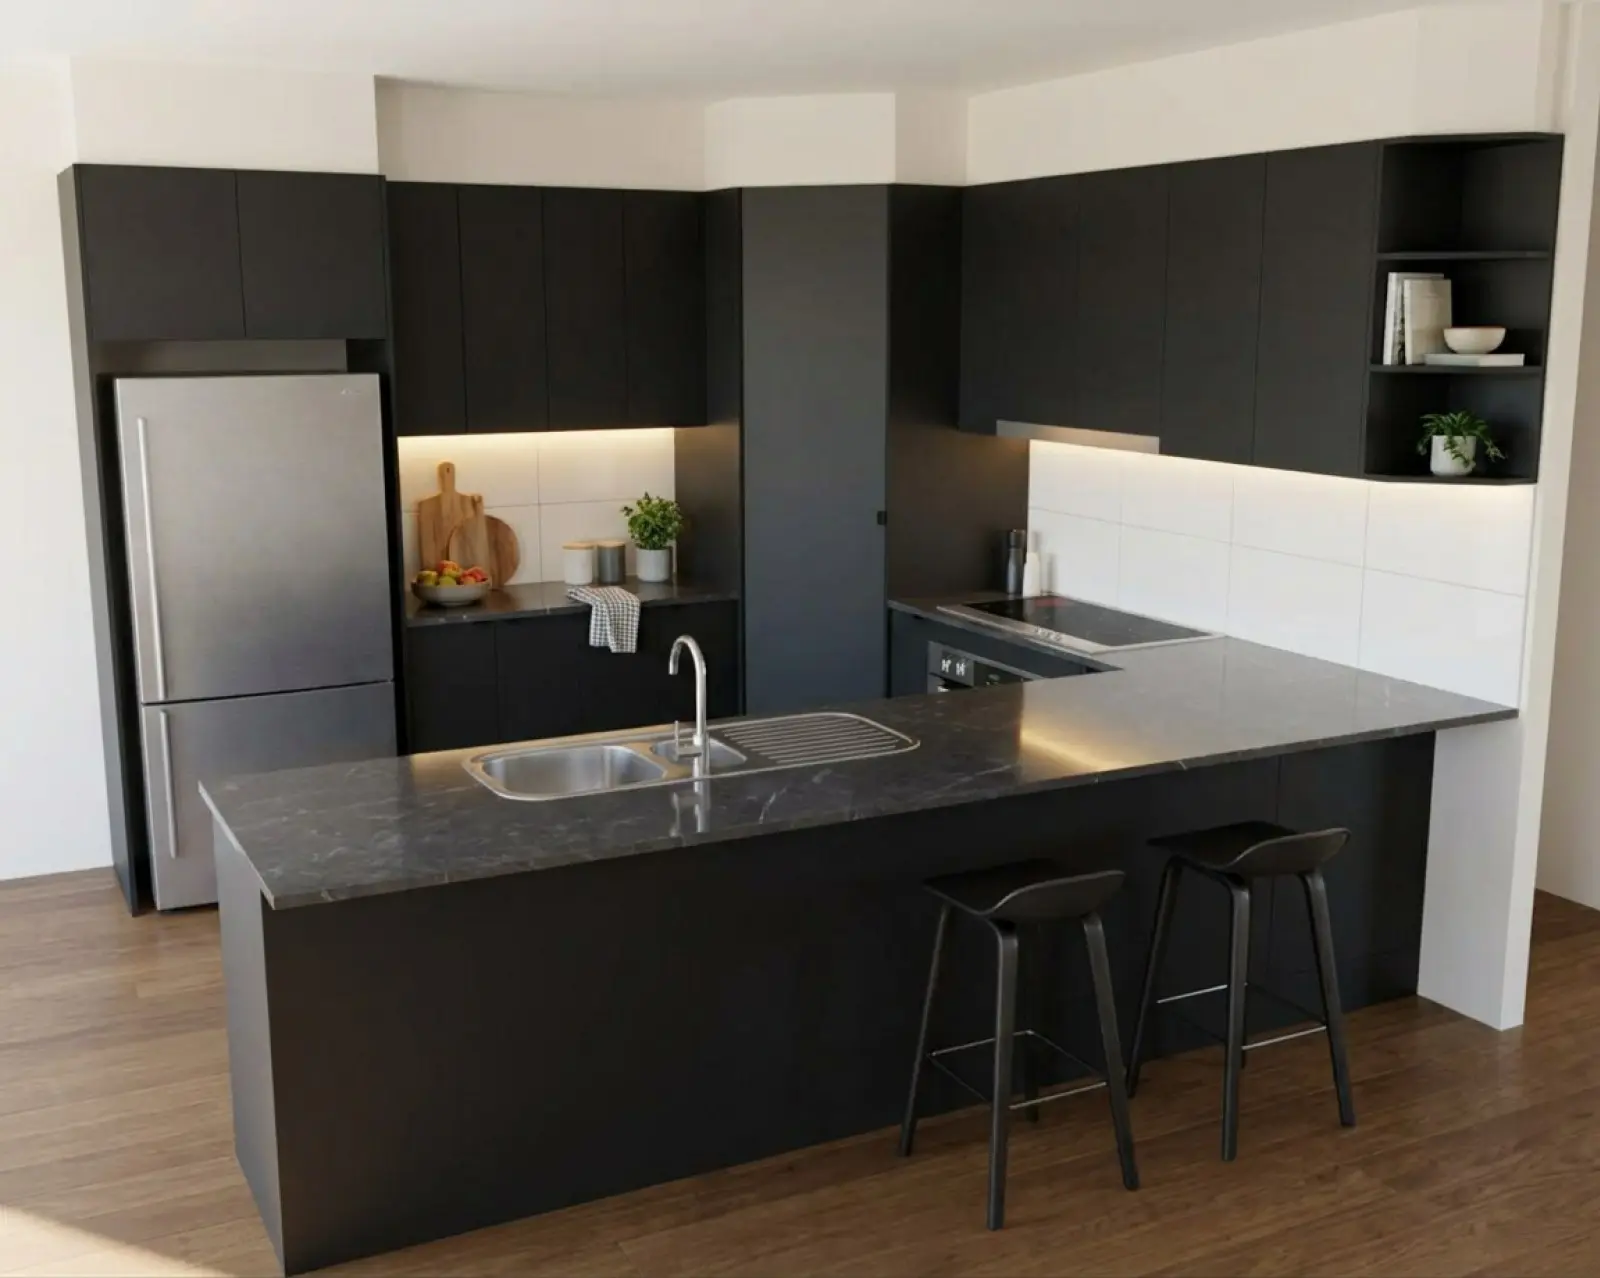
Renders are AI-generated. They closely match the finishes you pick, but they aren't exact. Check real samples before you order.
Review detections and Re-read drawing
After upload the drawing is read, and the cabinets, benchtops and openings it found appear on the drawing. Appliances are read from where their box sits, so a bar fridge drawn in a dishwasher’s spot can be read as a dishwasher. Check them before rendering. It’s quicker than fixing the same mistake on every render afterwards.
Open Review detections
It’s on the studio toolbar. It lists the appliances and sinks that were found on your drawing.
Select each one
It lights up on the drawing so you can see which box it means.
Confirm it or correct it
Press Correct if it’s right. If it isn’t, pick what it really is from the It’s actually… list. A wrong label renders as the wrong thing.
Anything you’ve reviewed stays on the list, so you can change it again. If the drawing itself has changed since you uploaded it, use Re-read drawing in the studio rather than starting a new project.
Pick the right room
You choose the room when you create the project: kitchen, laundry, vanity, walk-in robe, butler’s pantry, outdoor kitchen and the rest. The whole app changes with it, and the runs are named in that room’s own words. A laundry asks about its benchtop and its overheads (upper cabinets) rather than about kitchen cabinets.
The render is told what room it is, and the wrong room makes it add things that belong in one. If the drawing shows a cooktop and ovens but the project says laundry, the studio says so under the room name. You can put the room right after the project is made.
Set the build choices early
Handles, construction (kickers, the top of the cabinets, island ends) and fixtures only come through on a new picture. A colour change carries none of them. The project page offers the main ones before your first render: handles, kickers, the cooktop, the dishwasher and the island ends. Each starts as drawn. If you already know what the job needs, set them there before you confirm.
Related
Try it on a drawing you already have.
Your first five renders are free. No card needed.