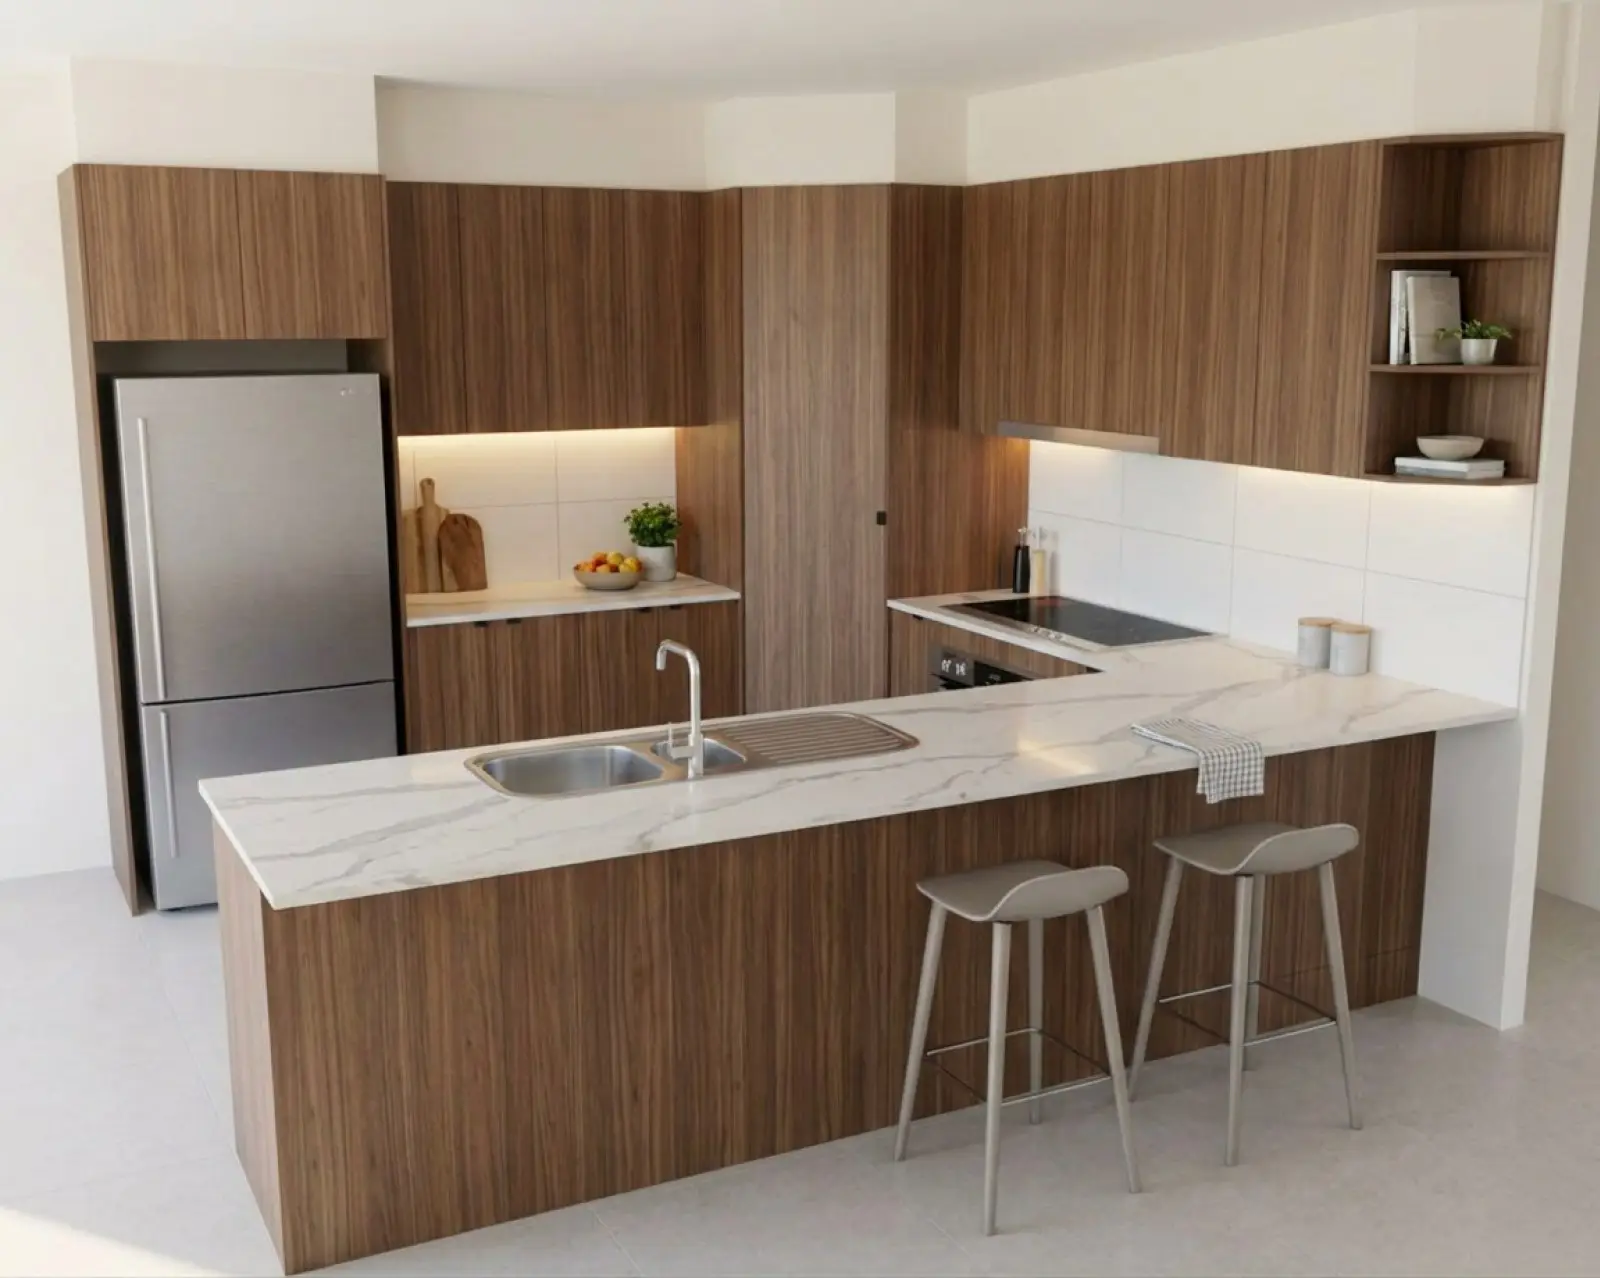
Not a photo input: a render of a drawn kitchen with walnut cabinets and a pale stone floor. Further down is the same kitchen with only the floor changed.
New finishes on the kitchen that's there now.
Upload a photo of the existing kitchen and Asterlyn Space renovates it in place. The render is built to keep the room, the light and the camera, and change the colours and materials you pick.
The customer sees their own room.
For a refit, the picture that sells the job is often the customer's own kitchen with new doors and a new benchtop (countertop), not a room they don't recognise.
What stays and what changes.
A photo is treated as a finished room rather than a drawing. The render is built to keep the walls, the window, the appliances and where the camera stood, and to change the finishes: cabinet colours, the benchtop, the splashback (backsplash), the floor, the walls, lighting and styling.
Loose things in the photo are left alone unless you ask for styling. With styling set to none, the chairs, stools, shelf items, plants, artwork and light fittings the photo shows are kept where they are and nothing new is added. The surfaces and finishes still change.
Two steps, in this order.
Photos render in two steps, because that's the way they come out right.
- The first render goes on its own and only makes your photo photoreal. Nothing is changed at this step.
- Pick all your materials, then press Change materials. They go on in one pass.
A photo renders once. After that, materials change with Change materials and anything else changes with a refine: mark the area and say what it should be. The edit a render page covers how.
A kitchen photo, its settings and the output.
A matched example should show the real kitchen photo, the materials selected in the product and the output from that same project. These placeholders are not evidence of a completed photo workflow. Replace all three with a tested, approved real example before promotion.

Image brief
Placeholder for the real kitchen photo used as input. Replace with a tested, approved real example before promotion.

Image brief
Placeholder for the product step showing materials selected for that photo. Replace with a tested, approved real example before promotion.

Image brief
Placeholder for the output from that same kitchen photo and its selected materials. Replace with a tested, approved real example before promotion.
Read this file as.
When a file is read as the wrong kind.
When you upload, we guess whether the file is a drawing, a drawing with the colours already on it, or a photo of an existing kitchen. A photoreal 3D visual can look like either a drawing or a photo, so the guess isn't always right.
The Read this file as switch on the project page says which it is. The three are rendered three different ways, so check it before you confirm and render. For drawings, see from drawings.
A finished 3D visual that still looks like a computer made it.
A sheet that arrives already finished, like a coloured 3D visual out of a drafting program, can come back looking like a tidy copy of itself. For that, there's the Photograph pass, under Just photograph it in the Photoshoot tab.
It takes the render you have and re-photographs the same room: same joinery, same camera, with real-looking materials and light instead of the computer look. Nothing is added or moved. It costs 1 credit and arrives as a new version, so the render you had is still there.
What these two pictures show.
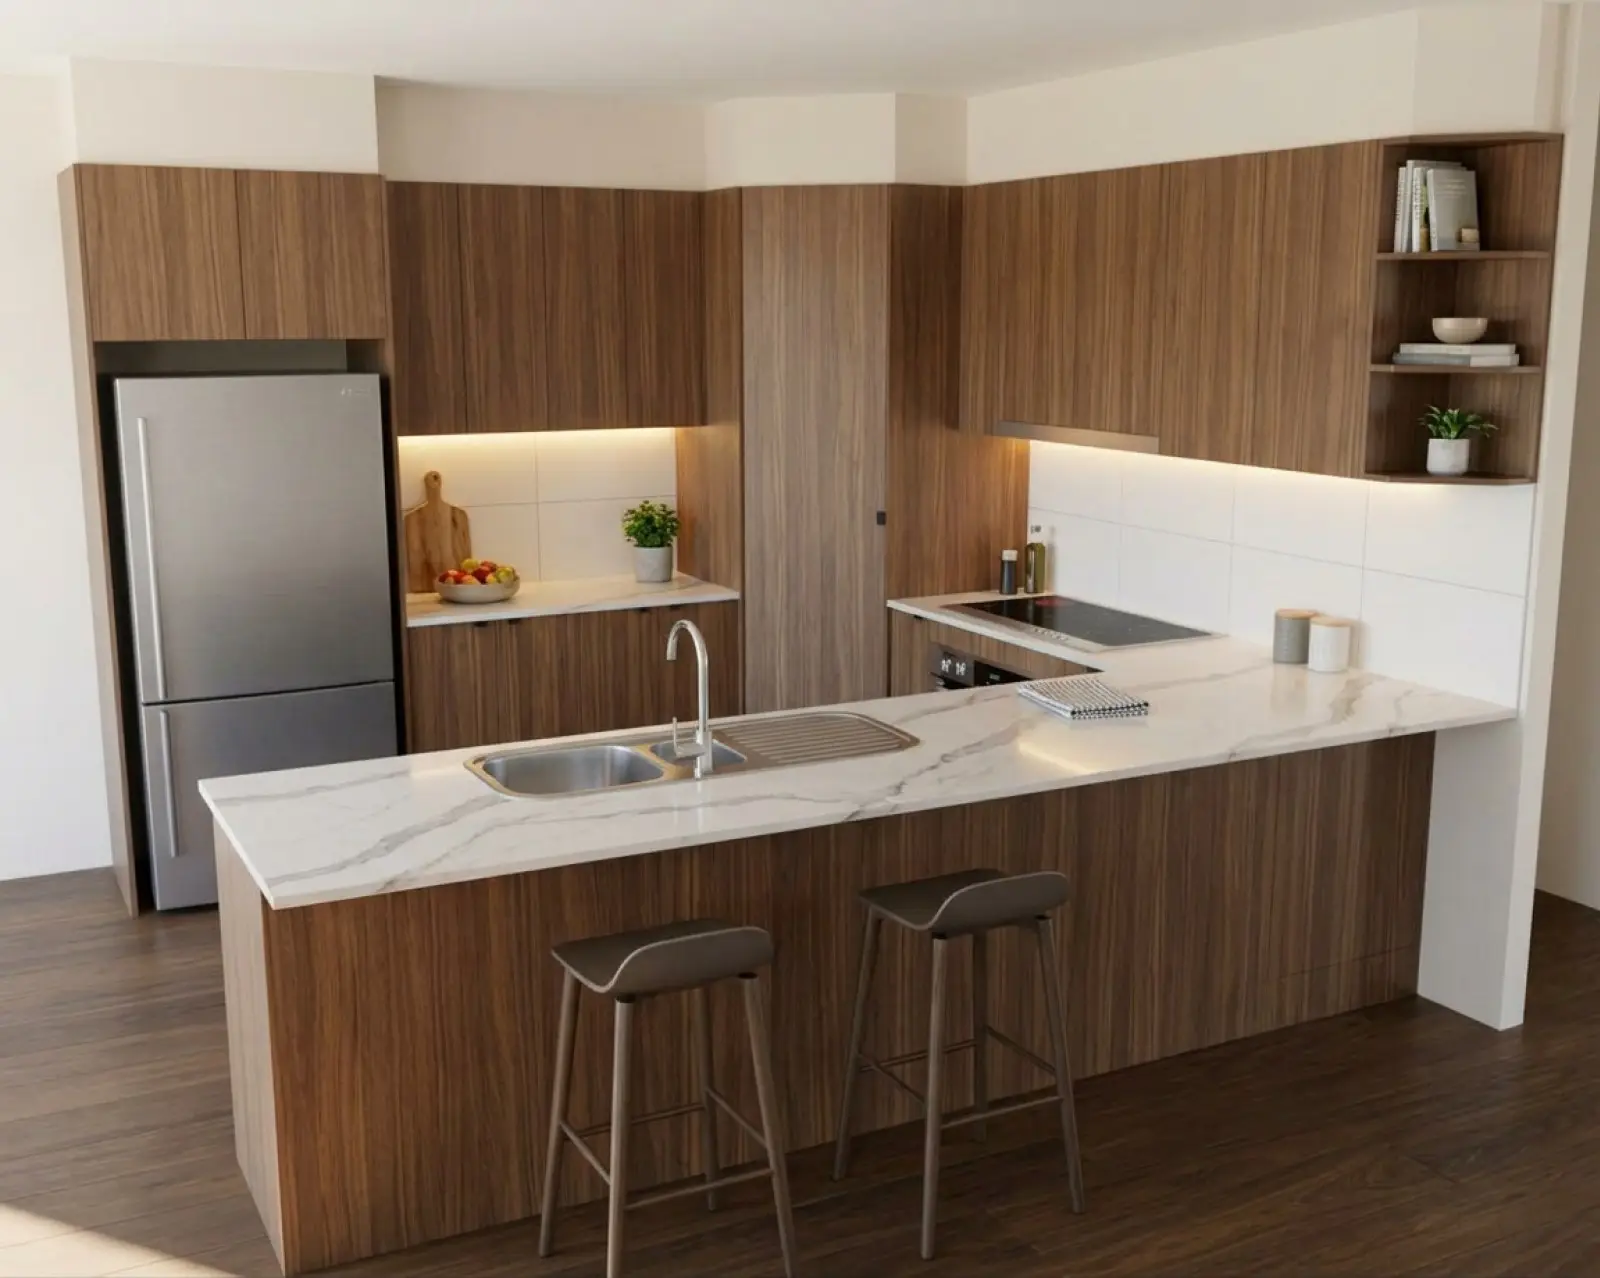
The same kitchen, one floor changed.
The placeholders above are not a photo-derived example. Both pictures here are renders of the same drawn kitchen with walnut cabinets. Between them, only the floor was changed.
That is the same idea a photo render works on: the room is held and the finishes you name are changed. On a photo, the room being held is the customer's own.
Renders are AI-generated. They closely match the finishes you pick, but they aren't exact. Check real samples before you order.
Two things to check.
Check the file type after upload.
If it was read as a drawing, use Read this file as and set it to a photo of an existing kitchen.
Choose everything before Change materials.
All your picks go on in the one pass, so set the cabinets, benchtop, splashback and floor together.
What a photo can't do.
Try it on a kitchen you've photographed.
Your first five renders are free. No card needed.