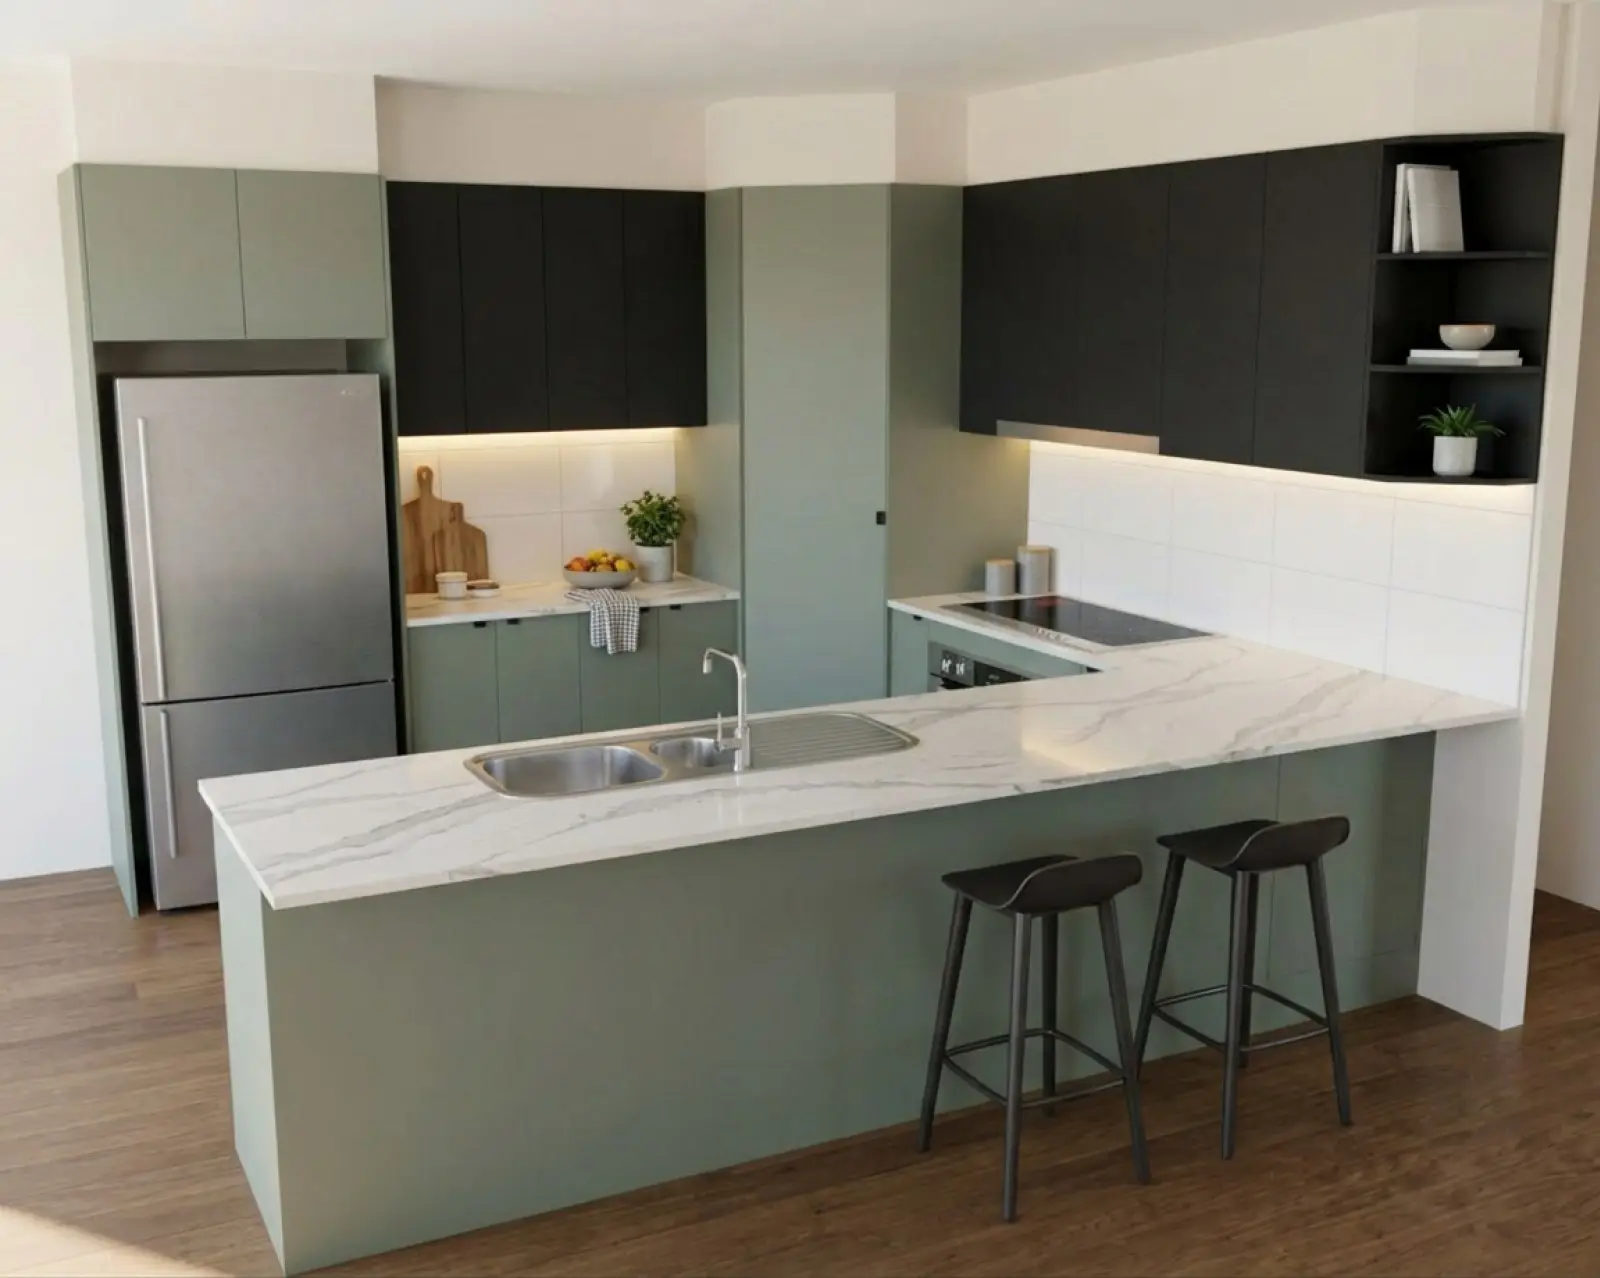
Sage cabinets with the overheads (upper cabinets) in matte black: one run given its own finish.
How it's built: handles, grain, kickers and the top of the run.
For cabinet makers, set how cabinet doors, handles and surrounding details appear in an AI kitchen render from your drawing. Choose hardware by run, with the fronts themselves following the drawing.
Choices that need a new picture.
Handles, construction and fixtures sit together on the How it's built page. They come through on a new picture. A colour Apply carries none of them.
Draw it again with these.
Apply my changes puts colours on the picture you already have. It can't take handles off a front or re-cut the top of a door, so a handle changed before an Apply doesn't show up. That's why the How it's built page has one button at the bottom, Draw it again with these, which draws the room fresh with your settings. Like Draw it again in the studio, it clears your colour picks, so putting them back on is a second credit. Set the construction first and the colours after.
There are two ways to change hardware on a render you already have, without drawing the room again. The kicker finish has its own apply button, and handles have their own refine. Both are below.
Handles or handleless, run by run.
Four runs, eight choices each.
Handles are set separately for the overheads, the base doors, the drawers, and the tall and pantry doors, because plenty of kitchens run a different handle on the drawers than on the doors. Each run has the same choices.
- As drawn
- Whatever the drawing shows. Nothing is said to the render. This is the default.
- Handles
- Handles in the style the drawing draws, or your own handle photo.
- Finger pull
- No handle. A plain flat front, opened at its edge.
- Sharknose
- A recessed channel along the top edge, in the front's own colour.
- Gola rail
- A recessed channel behind the top edge, in black, silver, or matched to the fronts.
- Shadow gap
- A plain gap above the front. No handle and no rail.
Your own handle, from the supplier's page.
Pick Handles on a run and a paste box opens under it. Right-click the handle on the supplier's site, choose "Copy image", click the box and paste, or drag the picture straight in. That photo is sent with the render for that run, so the handle comes back as a close likeness of the one you chose rather than a generic pull.
Image brief
Product screenshot: the Handles picker for one run with the pasted supplier handle photo, paired with a close crop of that handle on the resulting render. Use an approved supplier asset and the same project for both.
Changing handles on a render you already have.
The Handles refine changes the handles and the fronts' edge detail, and nothing else. It's the one pass allowed to take handles off, so use it to go to a gola rail, a sharknose or a finger pull after the fact, as well as for a different handle. Mark nothing. Say which fronts, for example "sharknose fingerpull on the lower doors and drawers". It costs one credit, like any refine.
The fronts come from your drawing.
As drawn, door by door.
The render reproduces the doors and drawer fronts where your drawing shows them: a flat slab where you drew a flat front, a frame only where you drew one. There isn't a door profile picker, so the drawing is where the profile is decided. Draw shaker fronts and the render is built to keep them shaker.
What you can set is the grain. Door grain runs vertical (the usual) or horizontal on the doors and drawer fronts. If the cabinet colour you picked has no grain, the grain controls go quiet, because there's nothing to run either way.
- Breakfast bar panel grain: the bar face and its return panels, set separately because a wide return often runs the other way.
- Cabinet head grain: follows the doors, or set across them.
- Kicker grain: along the run or upright, on a timber or grained finish.
The overheads, three ways.
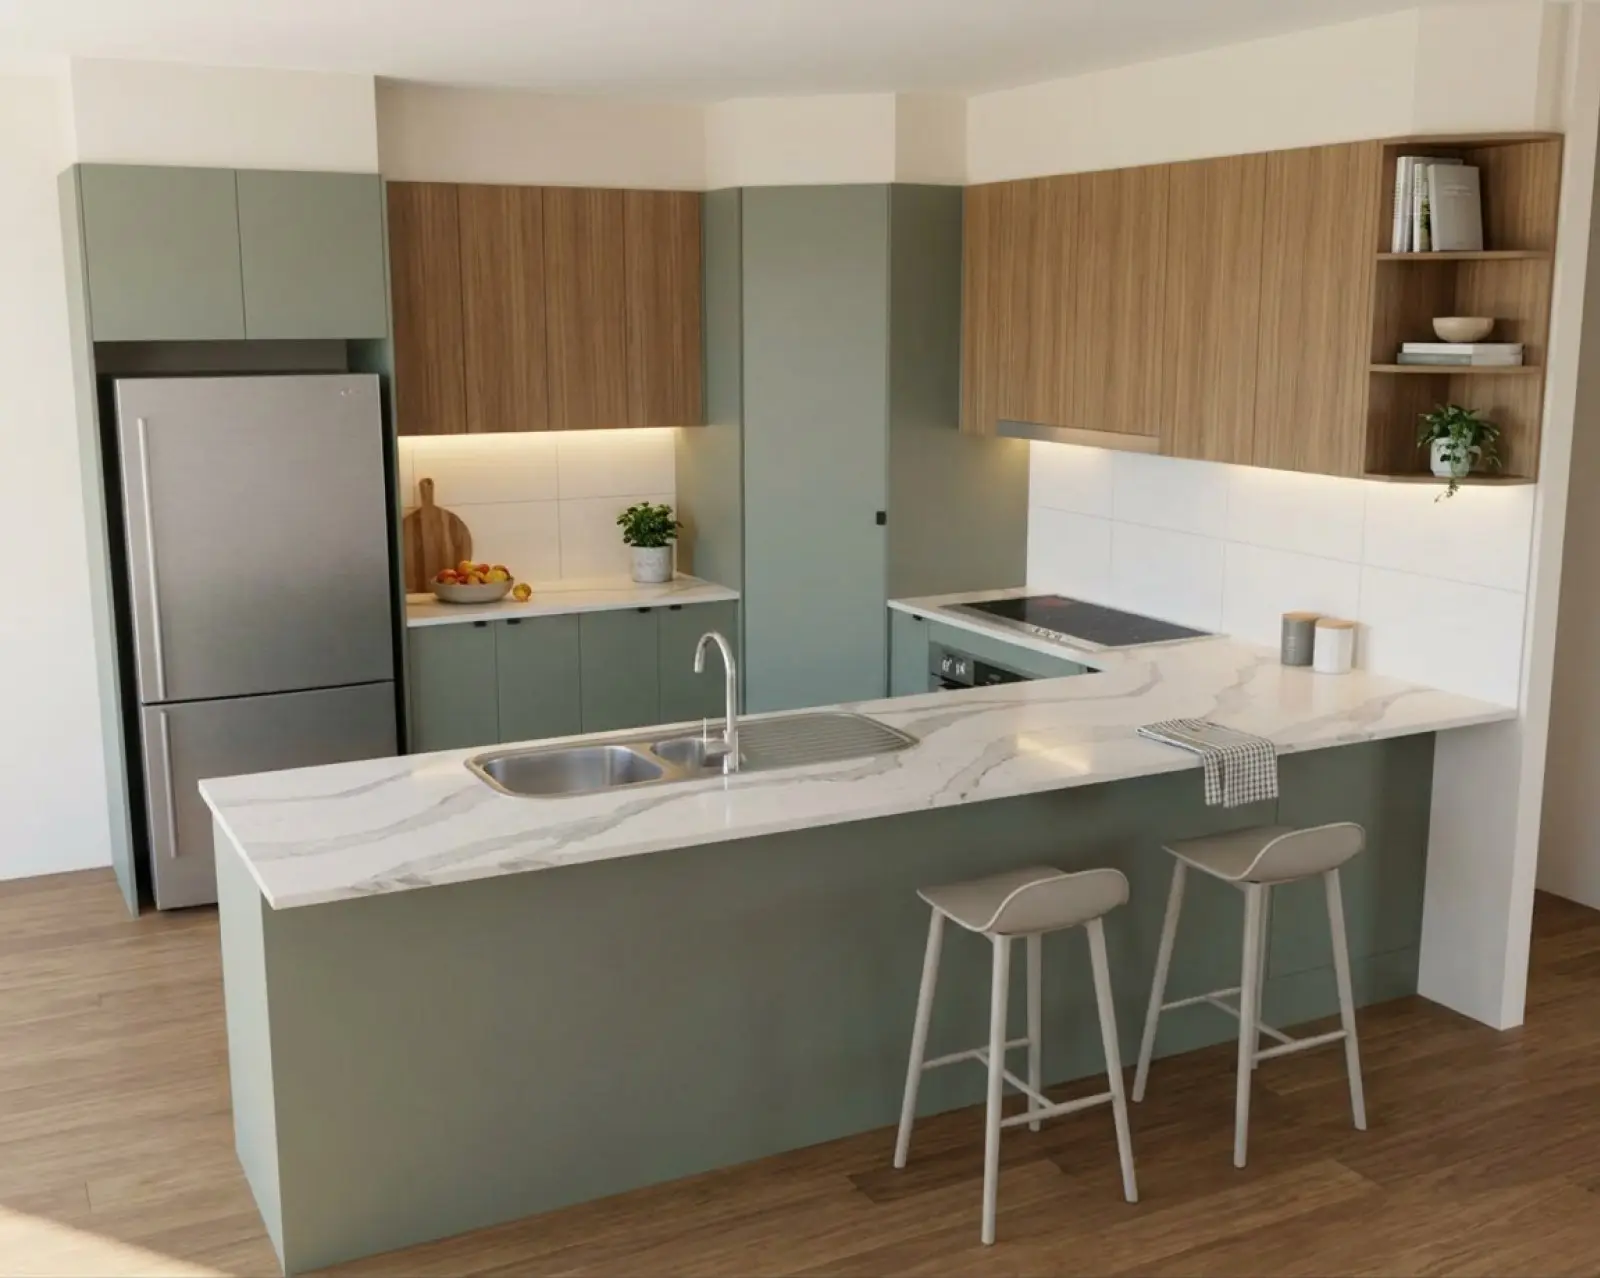
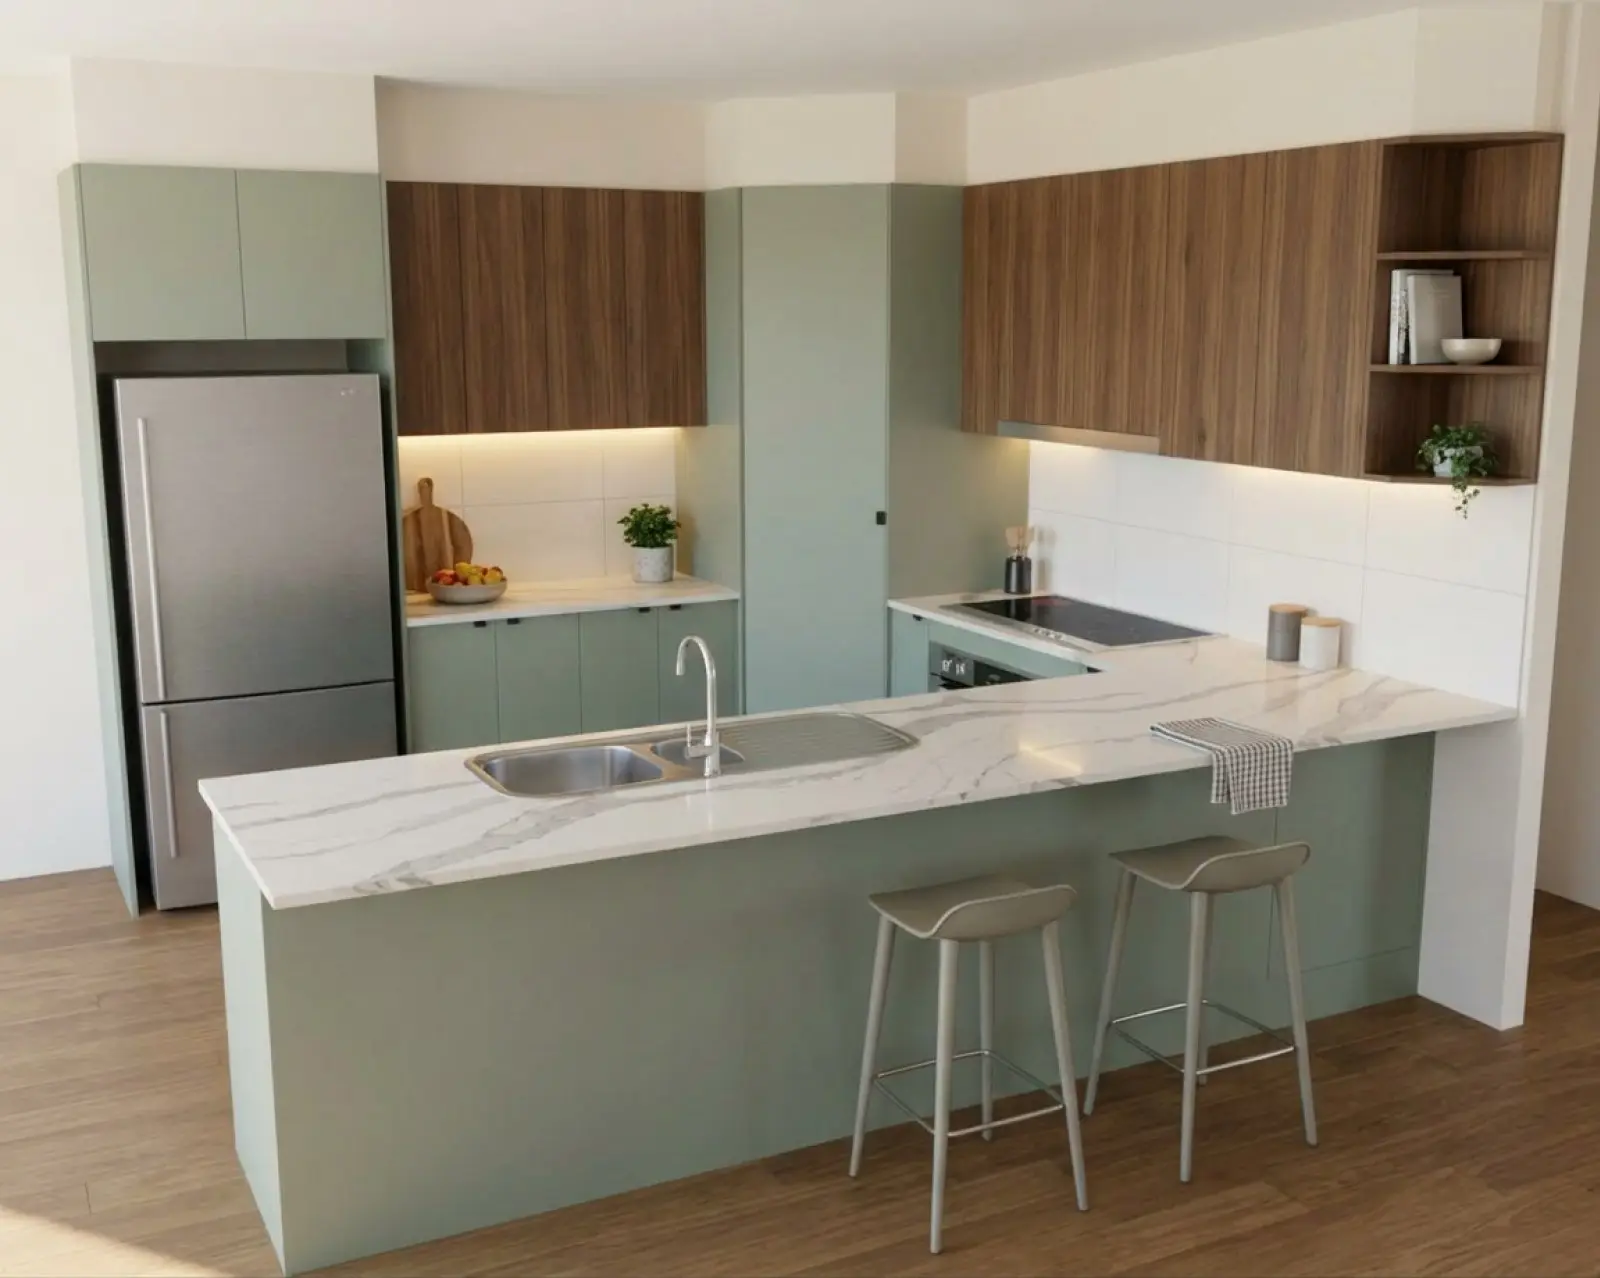
Renders are AI-generated. They closely match the finishes you pick, but they aren't exact. Check real samples before you order.
The top of the run, the island ends and the kickers.
Above the cabinets.
How the space between the top cabinets and the ceiling is built.
- As drawn: whatever is above the cabinets in your drawing stays.
- Bulkhead, plastered and painted: the builder's plasterboard, painted the wall colour.
- Cabinet head, in the cabinet finish: joinery above the cabinets in the same finish as the doors below.
- Open gap to ceiling: the cabinets stop short of the ceiling with an open gap above.
Island and peninsula ends.
- As drawn: the ends stay as drawn, including a benchtop (countertop) that runs down the end as a waterfall.
- Solid end panels: one flat panel, with no door or joint lines on it.
- Doored ends: the ends may carry door or panel joints.
This setting exists to stop the render inventing door lines on a solid end panel.
Patterned faces.
A face the drawing rules with a repeating pattern shows the spacing but not what it is. Say which, and the render stops guessing: tiles, fluting, timber slats, battens, V-groove panelling, shiplap boards, brick bond, herringbone, chevron or hexagon tiles.
Kickers.
Kickers are the kickboards (toe kicks) under the cabinets. First you say whether the job has them: As drawn, where the drawing sets the cabinets back off the floor, or No kickers, with every cabinet running to the floor. Asking separately means a finish can never invent a kicker.
Then the finish: match the cabinets, black, stainless steel, or tiled to match the floor. A kicker colour chosen in the Materials panel wins over the finish here, and the page tells you when it has.
The kicker finish is the one construction choice that lands on the picture you already have. Apply kickers to render finishes the kicks on the selected render and is built to leave everything above them as it is. One credit.
What to keep in mind.
Show the customer the handles they're paying for.
Your first five renders are free. No card needed.