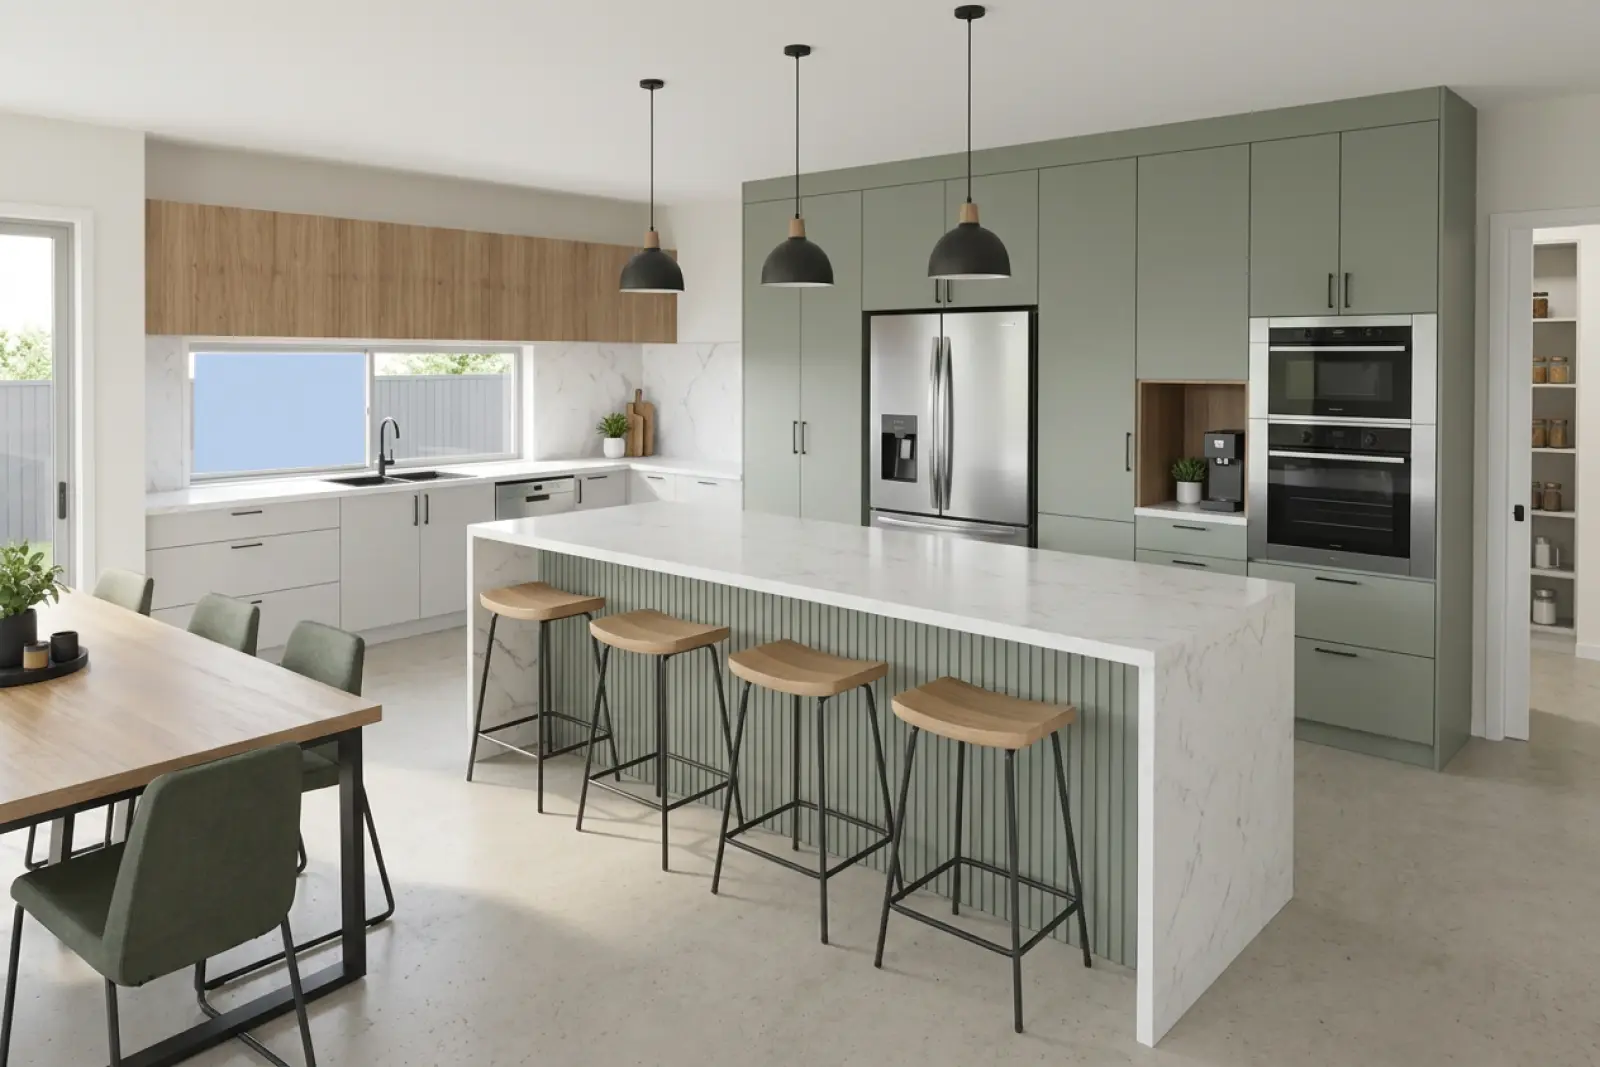
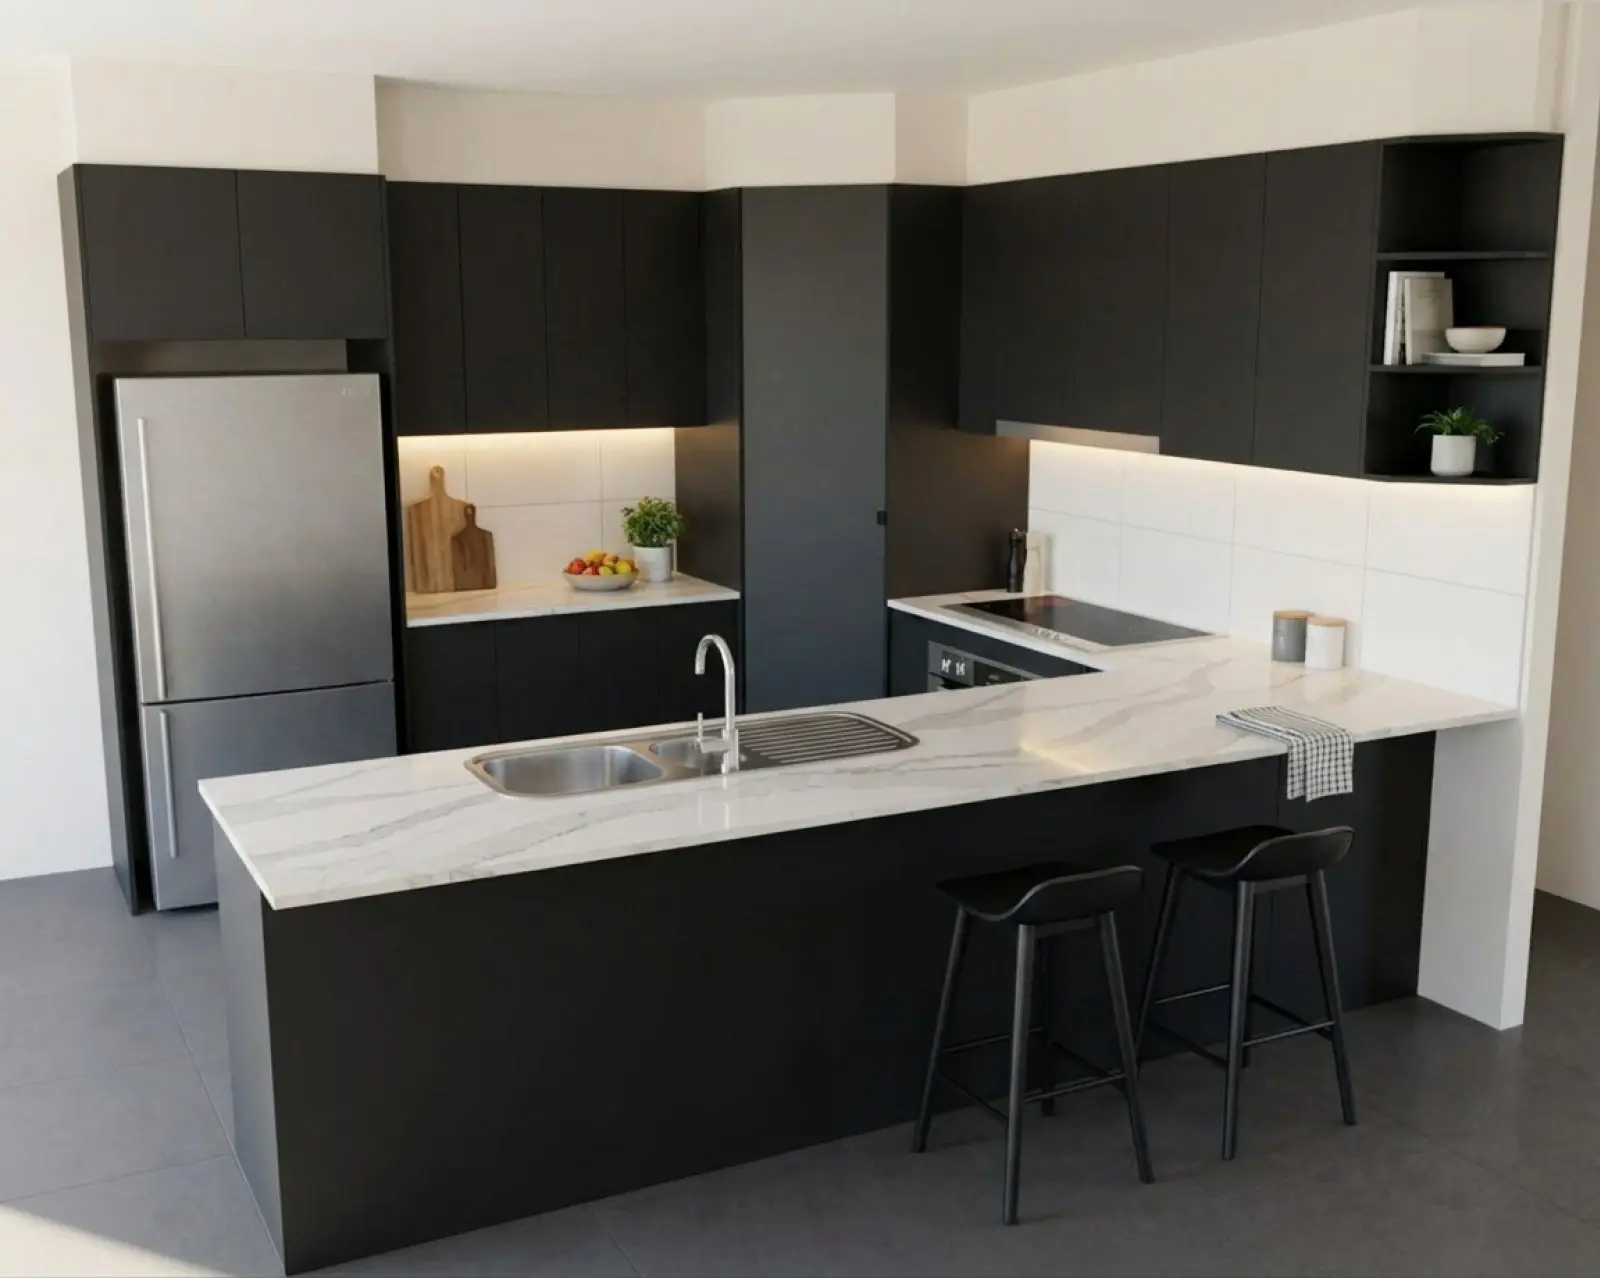
A kitchen render: sage tall cabinets, a sage fluted island under a white marble waterfall benchtop, and oak overheads.
Kitchen renders from the drawing you already have.
For cabinet makers and joiners, Asterlyn Space is kitchen rendering software that turns a hand sketch, elevation, CAD or SketchUp screenshot, or a photo of the existing kitchen into a photoreal AI render to show the customer.
A colour for every run in the kitchen.
The Materials panel gives each run its own picker. Leave a run on As drawn and it takes the colour set for all the cabinets.
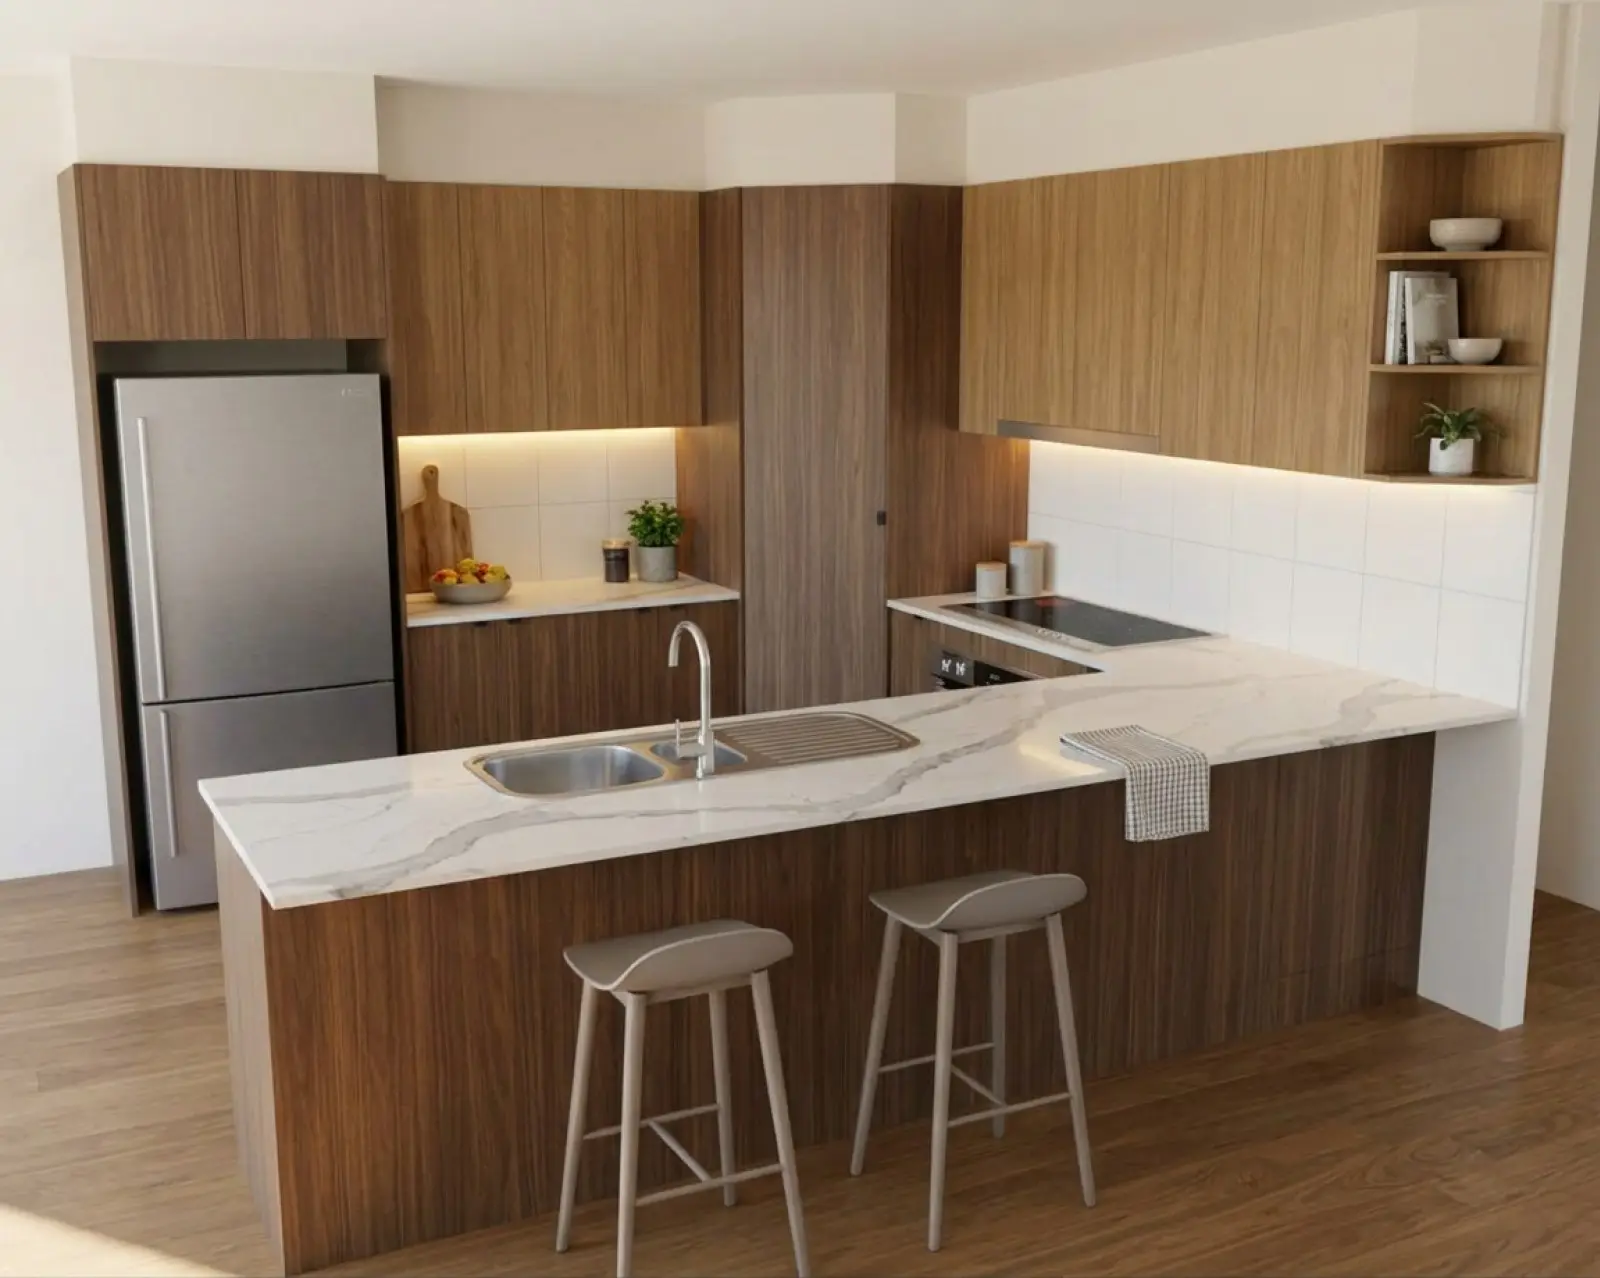
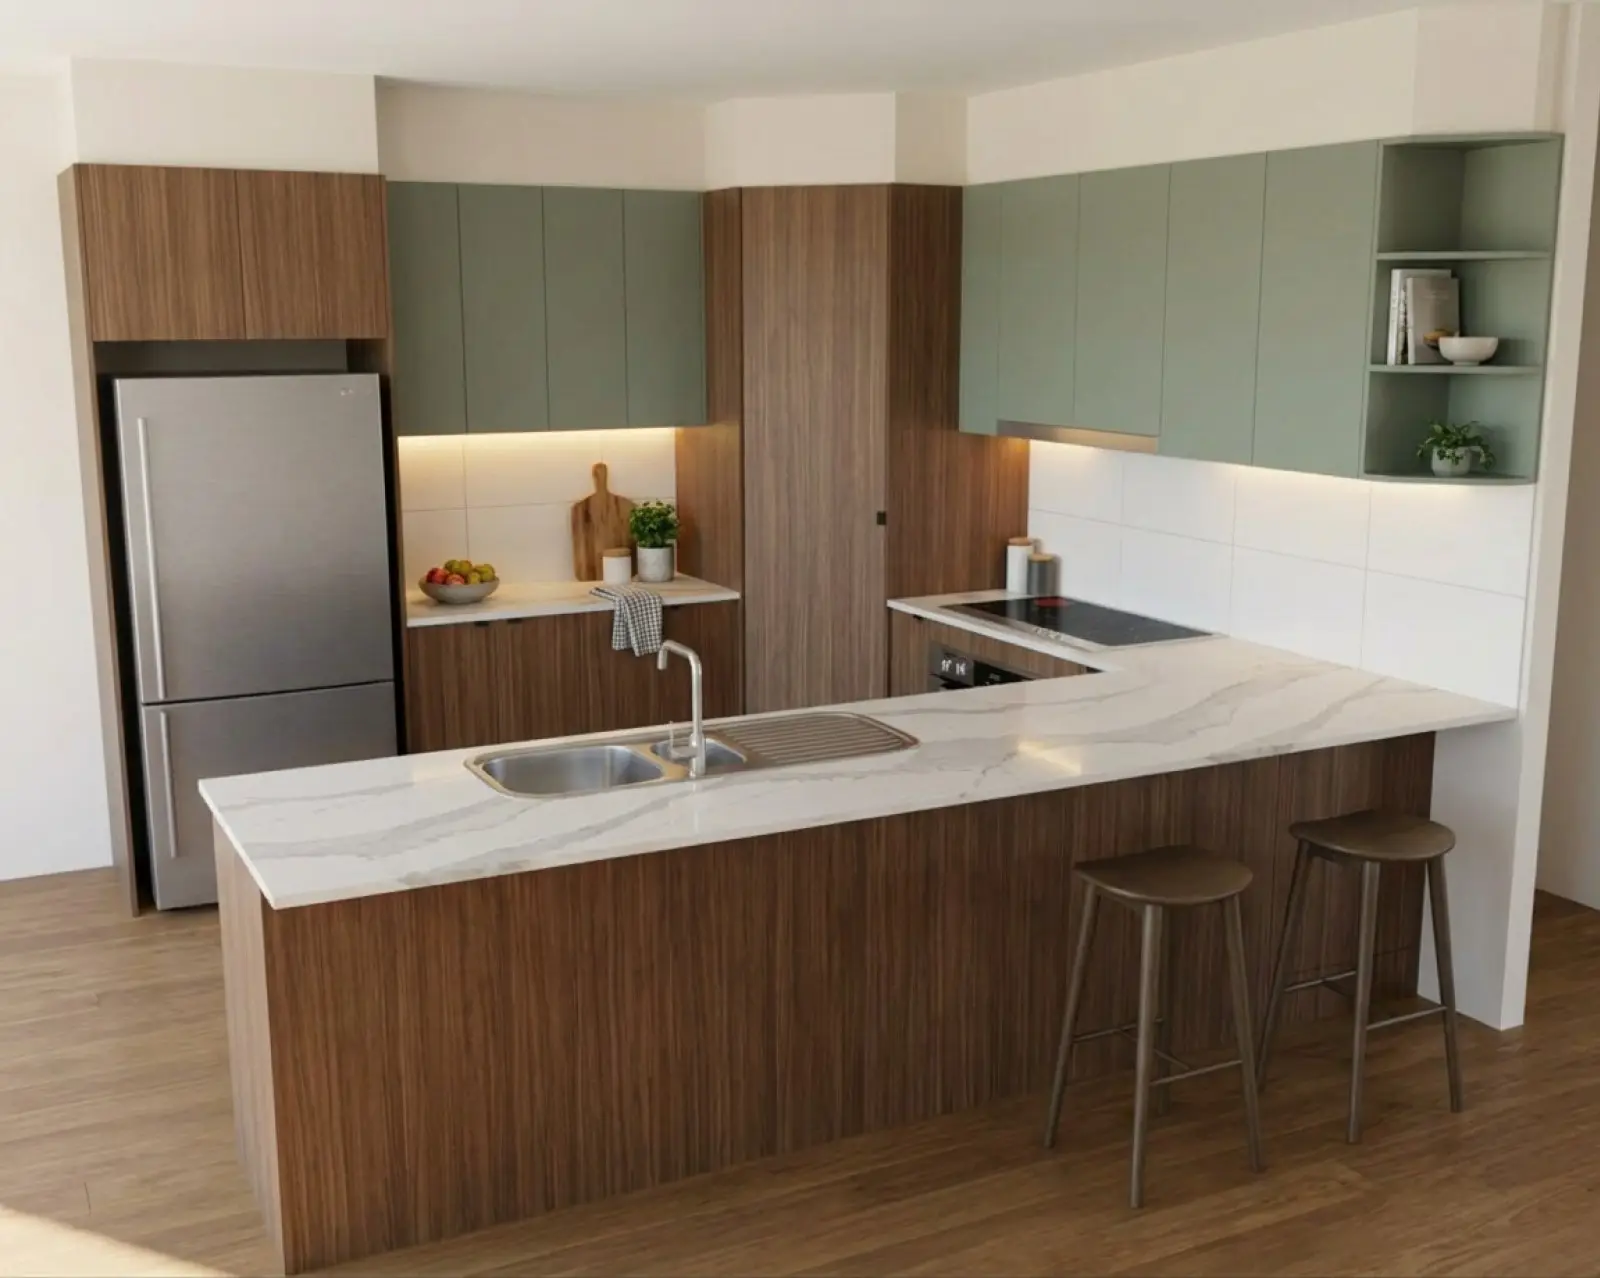
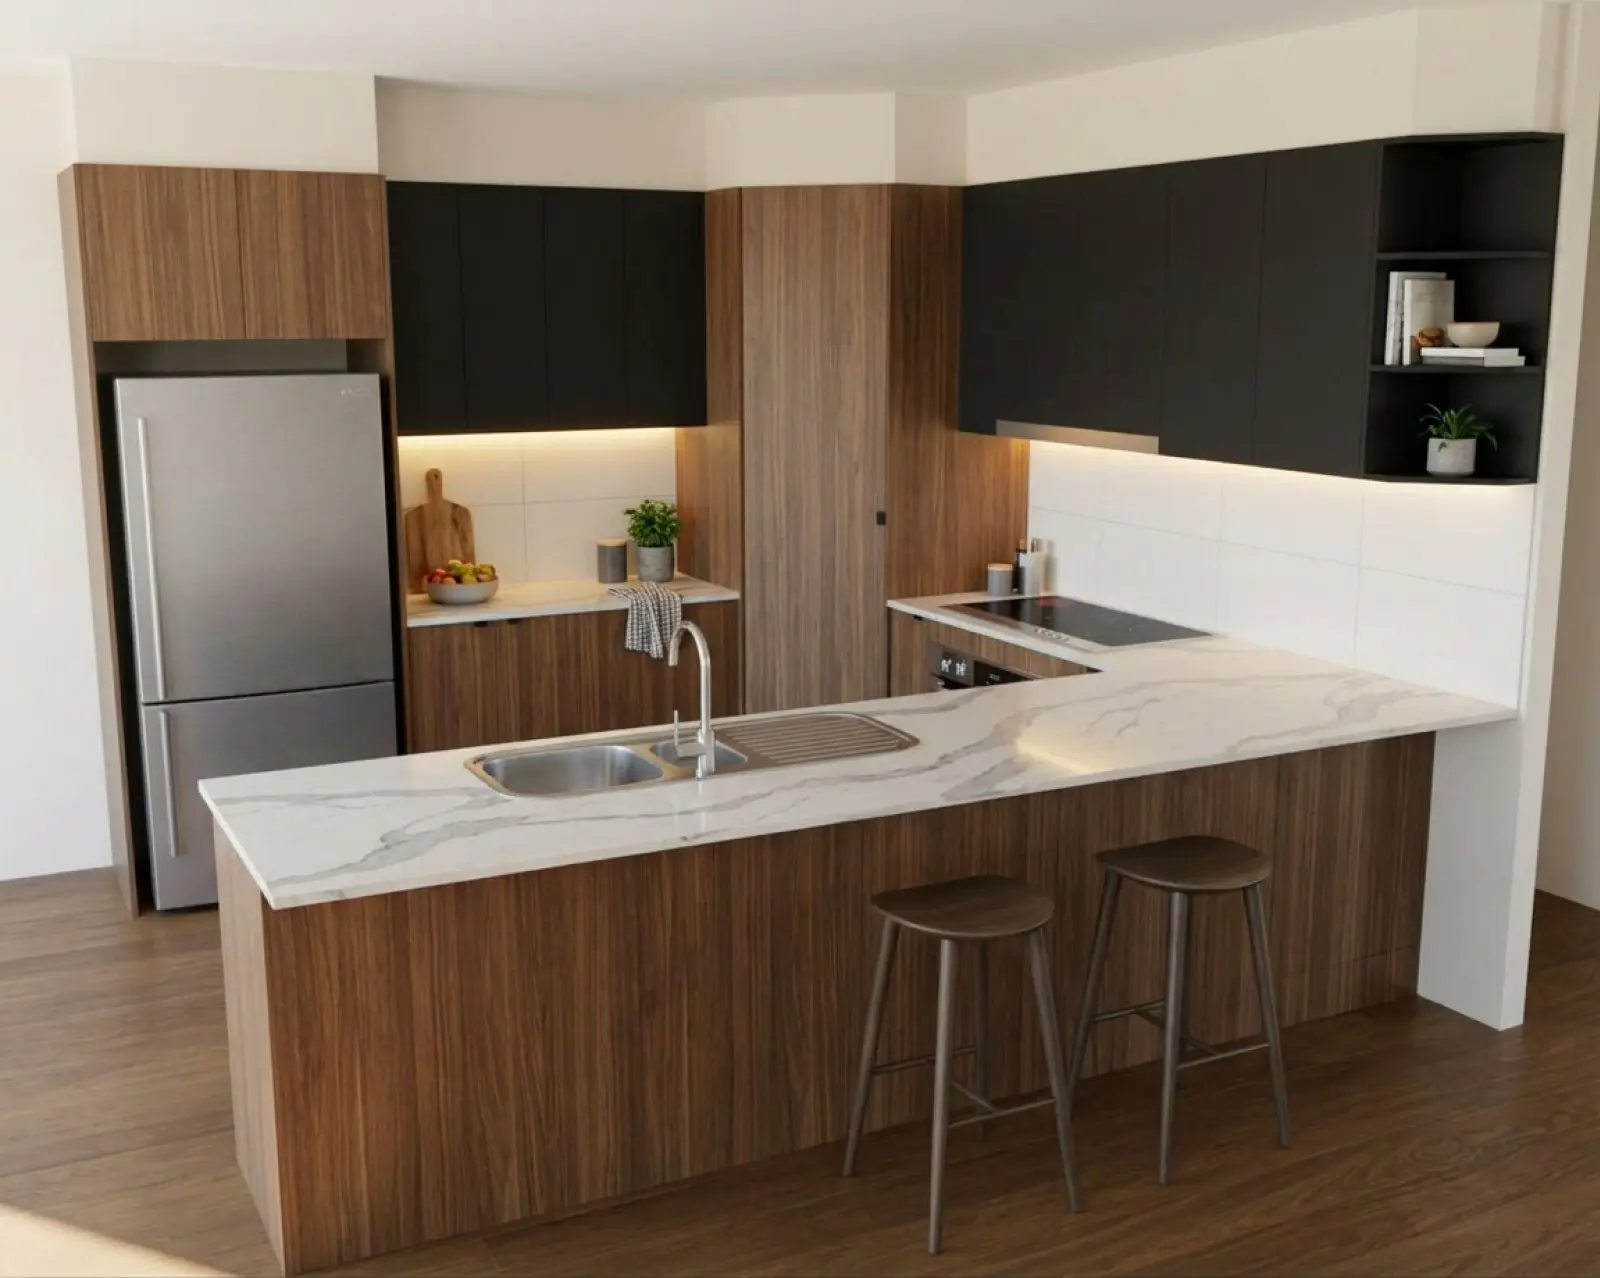
Renders are AI-generated. They closely match the finishes you pick, but they aren't exact. Check real samples before you order.
The runs a kitchen has.
These are the runs a kitchen project offers, in the names the studio uses. The overheads (upper cabinets) and the base cabinets are the obvious two. The tall run, the oven tower and the cabinet above the fridge each get their own colour too, which is where a two-tone kitchen usually splits.
Above the pickers is a list headed In this kitchen, ticked from what was read off your drawing. If the reading missed the fridge space or the tall run, tick it there before you choose colours. It's the quickest fix for a colour landing on the wrong part.
For a supplier colour, copy the swatch image from the supplier's page and paste it into the picker. On the benchtop (countertop) or splashback (backsplash) the pasted picture goes to the render, so a patterned stone or tile comes back as a close likeness of the one you pasted. Matching a supplier colour walks through it.
Image brief
Product screenshot: the Materials panel with In this kitchen and the overhead, base, island, tall, oven tower and fridge cabinet pickers visible. Pair it with the same kitchen shown in the real render comparison above.
- Overheads
- The wall cabinets.
- Base cabinets
- The floor cabinets under the benchtop.
- Island / peninsula
- The island or peninsula cabinets, on their own colour.
- Tall cabinets
- The full-height cabinets.
- Oven tower
- The tall cabinet the ovens are built into.
- Fridge cabinet
- The cabinet above the fridge space.
- Open shelving
- Every board and side of the open shelving the picture already shows.
- Breakfast bar / island panels
- The blank panels of the island or peninsula.
- Panel return ends
- The end faces of the island or peninsula.
- And the room
- Benchtop, splashback, kickers, bulkhead, floor and walls, each with its own picker.
Island ends, kickboards and the top of the run.
Island ends.
The Construction panel sets how the island and peninsula ends are built. As drawn keeps what your drawing shows, including a benchtop that turns the corner and runs down the end as a waterfall. Solid end panels makes each end one flat face with no door or joint lines. Doored ends lets them carry doors or panel joints.
The breakfast bar panels take their own colour and their own grain direction, separate from the doors.
Kickboards and the top of the cabinets.
Kickboards (toe kicks) can be left as drawn or turned off so the cabinets run to the floor. Where there are kickers, finish them to match the cabinets, in black, in stainless steel, or tiled to match the floor.
Above the cabinets, pick a plastered and painted bulkhead, a cabinet head in the cabinet finish, an open gap to the ceiling, or what the drawing shows. Handles (pulls), finger pulls, sharknose, gola rails and shadow gaps are on the doors and hardware page.
Say what the splashback is, so the render doesn't guess.
Full, behind the cooktop, or none.
A kitchen opens on a full splashback across the wall between the benchtop and the overheads. Switch it to Behind the cooktop only for a single panel, or No splashback when the wall runs straight down to the benchtop. Declaring it is what stops the render adding one you didn't draw, or dropping one you did.
For a tiled splashback, pick the layout on the splashback picker: square grid, subway or brick bond, herringbone, chevron or hexagon. A colour on its own comes back as a flat panel; the layout is what gives it grout lines.
The room around the cabinetry.
The floor and the walls have pickers of their own, so the customer sees the kitchen in a room rather than on white paper. The floor takes the same tile layouts as the splashback.
A photo of the kitchen there now is renovated in place instead: it keeps the room, its light and the camera, with your finishes put on it. Rendering a photo of an existing kitchen covers that route.
Cooktop, rangehood, dishwasher and sinks.
Declared in Fixtures, confirmed in review.
The Fixtures panel is where you say what the cooktop, rangehood and dishwasher are. The dishwasher is always your choice, because an integrated one is drawn just like the cupboard beside it.
Review detections lists every appliance and sink found on the drawing. Confirm each one, or pick what it really is from the list. You can also add a photo of the actual appliance, which is sent with the render. A bar fridge drawn where a dishwasher usually sits is the kind of thing this catches.
- Cooktop / hob
- As drawn, gas, induction or electric. Declared so the render doesn't swap it.
- Rangehood
- As drawn, concealed or undermount, undermount in a painted box, a canopy as a feature, or none.
- Dishwasher
- Chosen, never read off the drawing: single or double drawer, free standing, integrated drawers, or fully integrated behind a door in the cabinet colour.
- Sinks
- Single, double or one and a half bowl, with or without drainers, undermount single or double, or a butler sink.
- Everything else
- Oven, microwave, fridge, freezer, bar fridge with a solid or glass door, wine fridge. Confirm each one the drawing shows, or say what it really is.
More on the appliances and sinks page.
Strip lights, the scene and the finishing passes.
Four places a kitchen is lit.
A kitchen is offered strip lights in four places, and you can tick more than one for a single pass:
- under the overhead cabinets, lighting the splashback and the benchtop
- under the open floating shelves, washing down the wall below each shelf
- under the base cabinets, shining down the kicker and out onto the floor
- inside the glass cabinets
Colour temperature is Warm (3000K), Neutral (4000K) or Cool (6000K). The scene can be Daylight, Warm, Evening or Studio.
Dressing and the photoshoot pass.
Dressing is a set of ticks: things on the benchtop, the glass cabinets filled, bottles in the wine rack, a few things on the open shelves, stools at the island and a tap (faucet) on the sink.
The photoshoot pass is opt-in. It stages a finished render the way a house is photographed for a listing: a rug, a dining setting, pendant lights, wall art. You tick what the stylist brings. The picture may shift, so it arrives beside the render you had as a new version rather than replacing it.
What it won't do.
More on the kitchen controls.
Put your next kitchen through it.
Upload the drawing you already have. A render comes back in a couple of minutes.