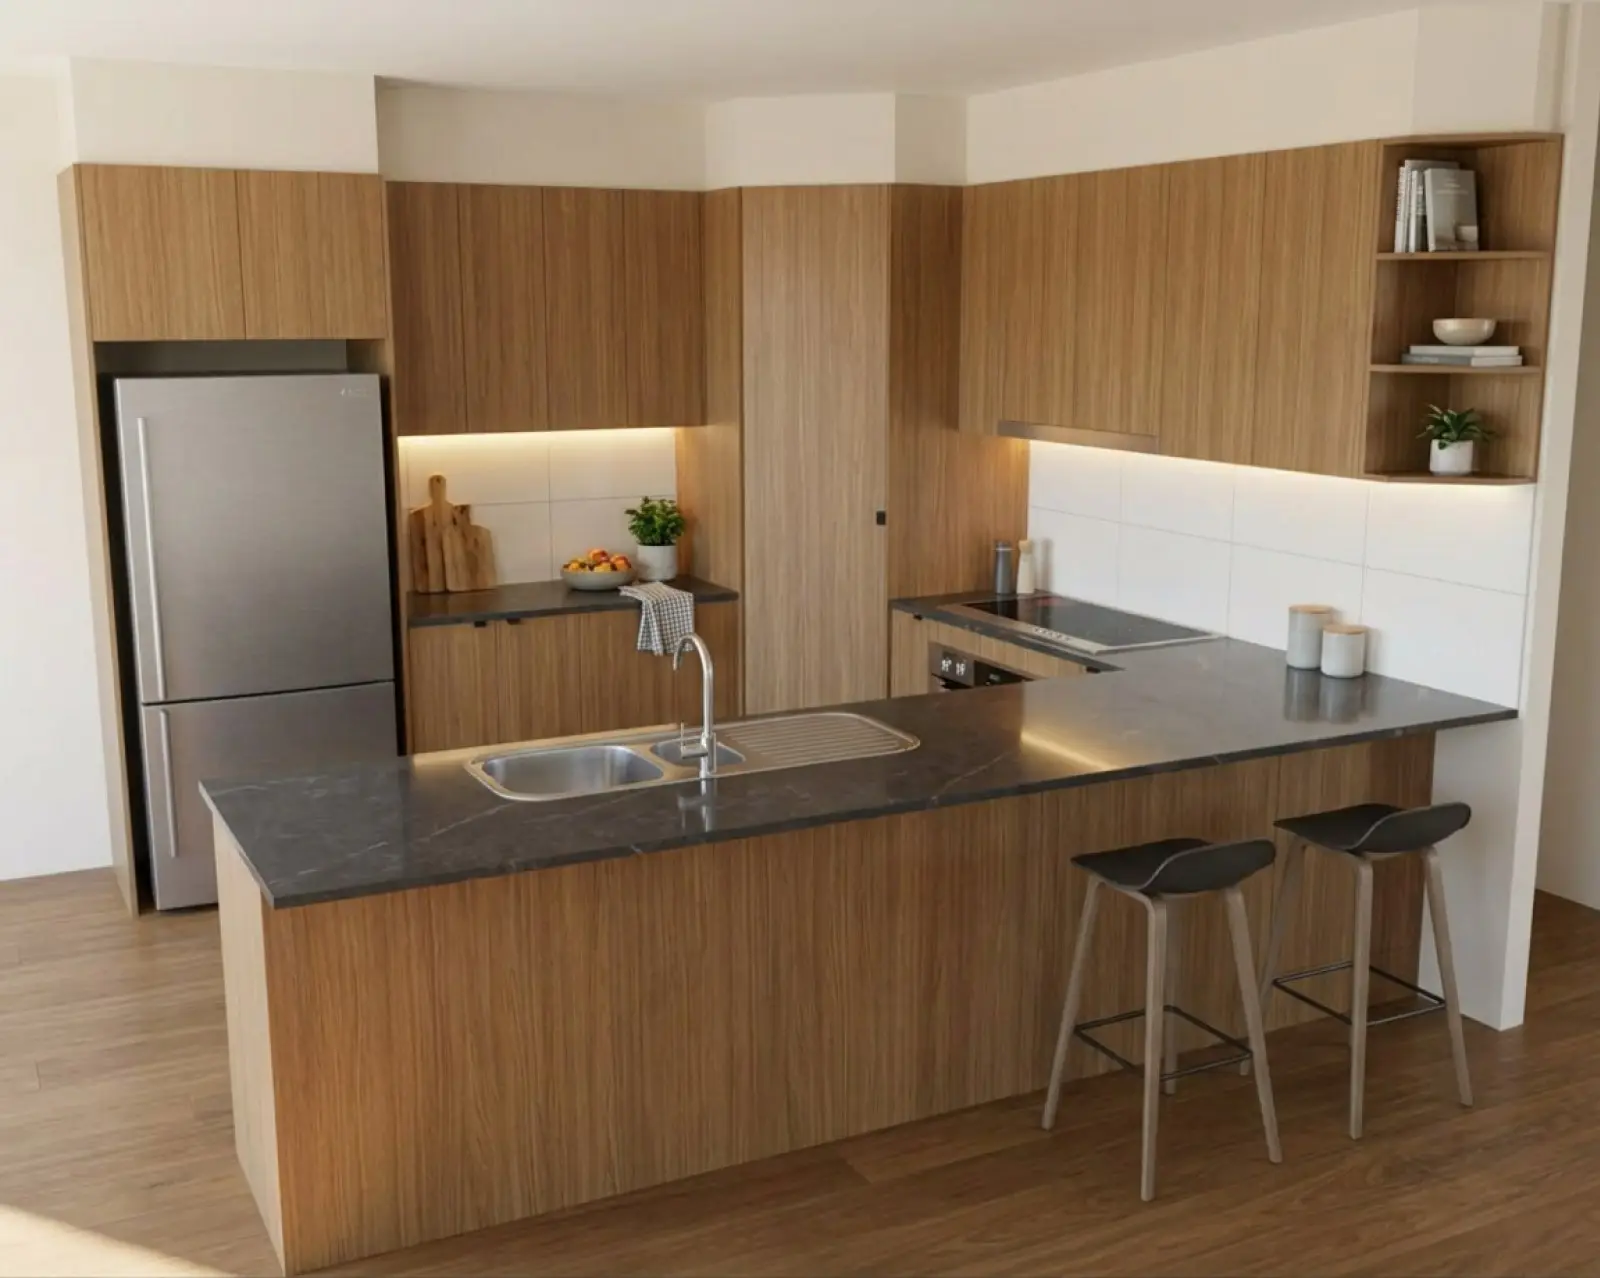
Oak cabinets with a charcoal marble benchtop.
A colour for every run, and every surface around it.
For cabinet makers and joiners, apply colours and materials to an AI kitchen render from a drawing. Set cabinet runs, the benchtop (countertop), splashback (backsplash), floor and walls.
What you can colour.
The panel lists what the reading found in this room, already ticked. A drawing read properly needs nothing done there.
- Cabinet runs
- All cabinets at once, or each run on its own: overheads (upper cabinets), base cabinets, island or peninsula, tall cabinets, oven tower, the cabinet above the fridge, open shelving, and the breakfast bar and island panels.
- Benchtop
- Its own colour or stone, separate from the cabinets.
- Splashback
- A colour, a stone or a tile. Full height, behind the cooktop only, or none.
- Floor and walls
- A colour, a timber or a tile for the floor, and a paint colour for the walls.
- Kickers and the head above the cabinets
- Kickers are the kickboards (toe kicks) under the bases. They only get a finish where the drawing sets the cabinets back off the floor. A cabinet head above the overheads can take its own finish too.
- Appliances
- A finish for the appliances, such as integrated behind panels or stainless steel.
Runs are named in the room's own words. A vanity or a laundry asks about its own pieces rather than about kitchen cabinets. Choosing one colour for all cabinets is the usual start; a feature run is then one more pick.
One surface changes, the rest is built to stay put.
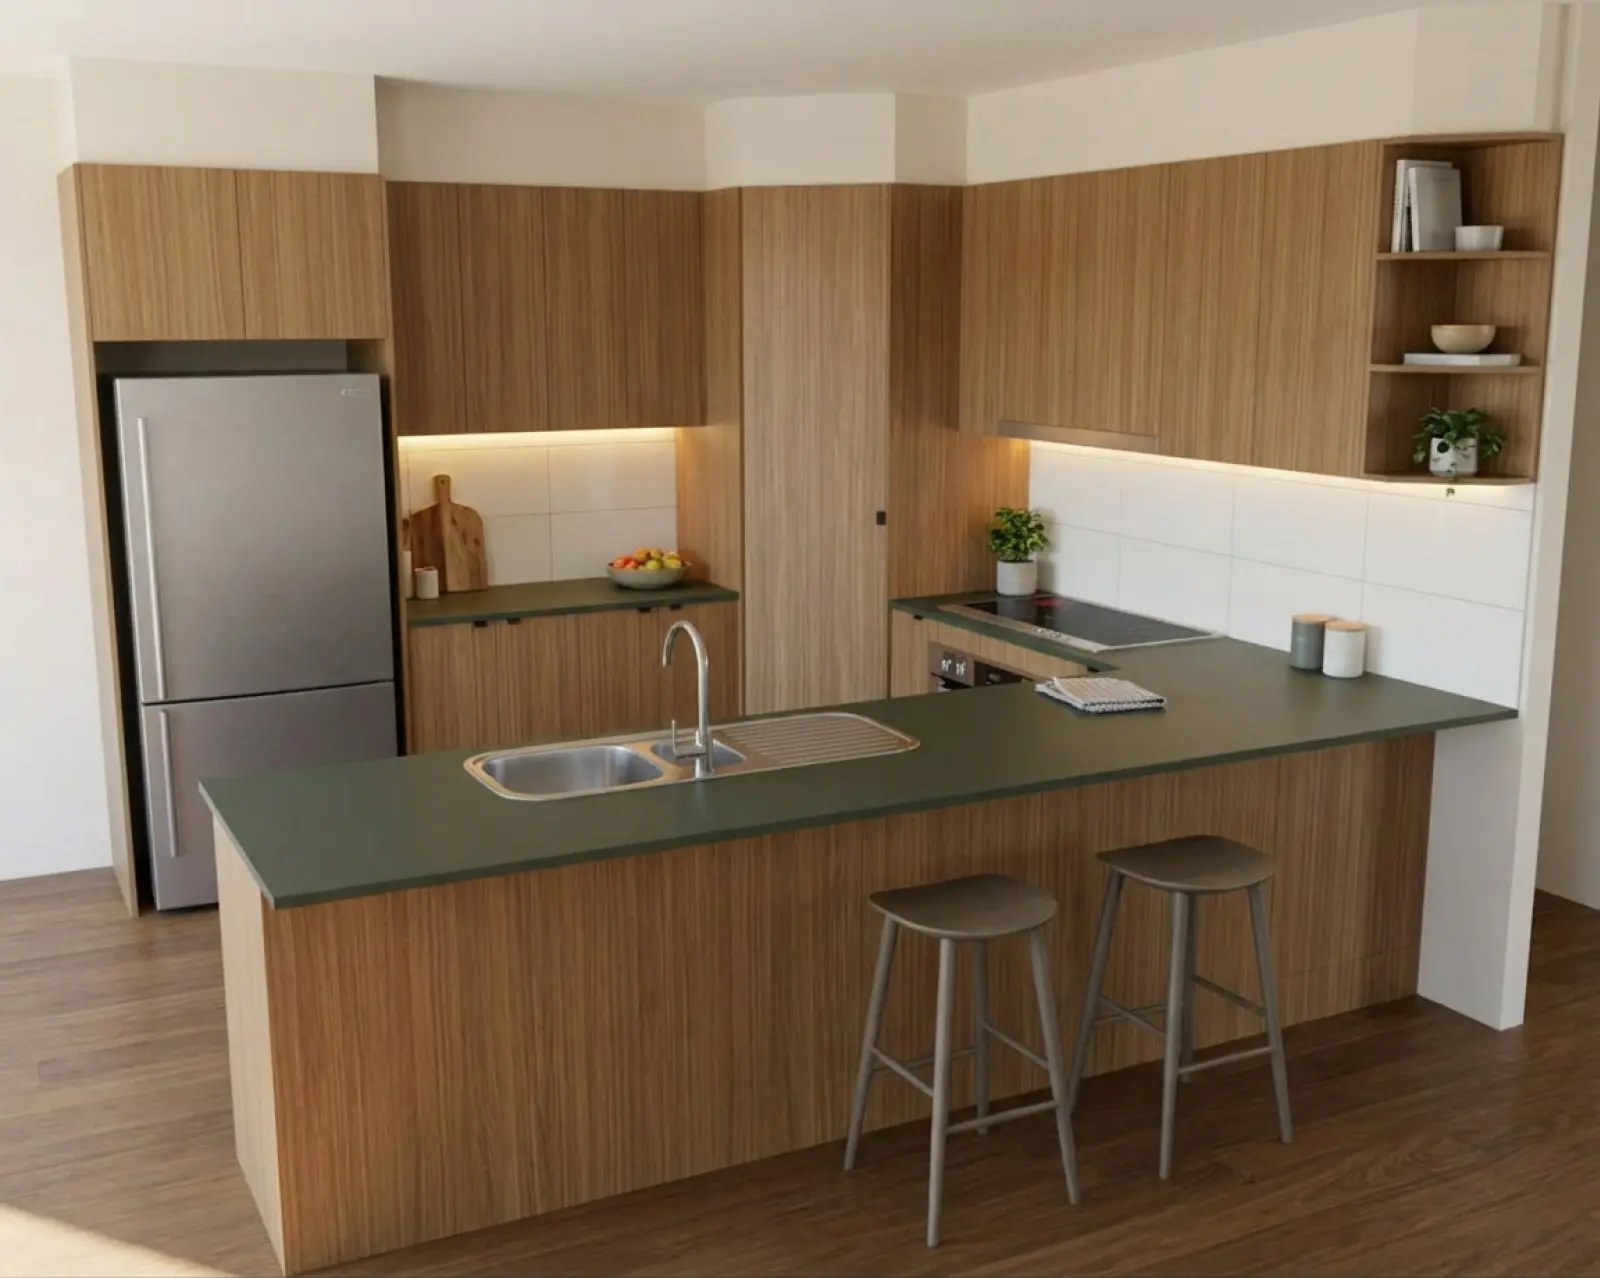
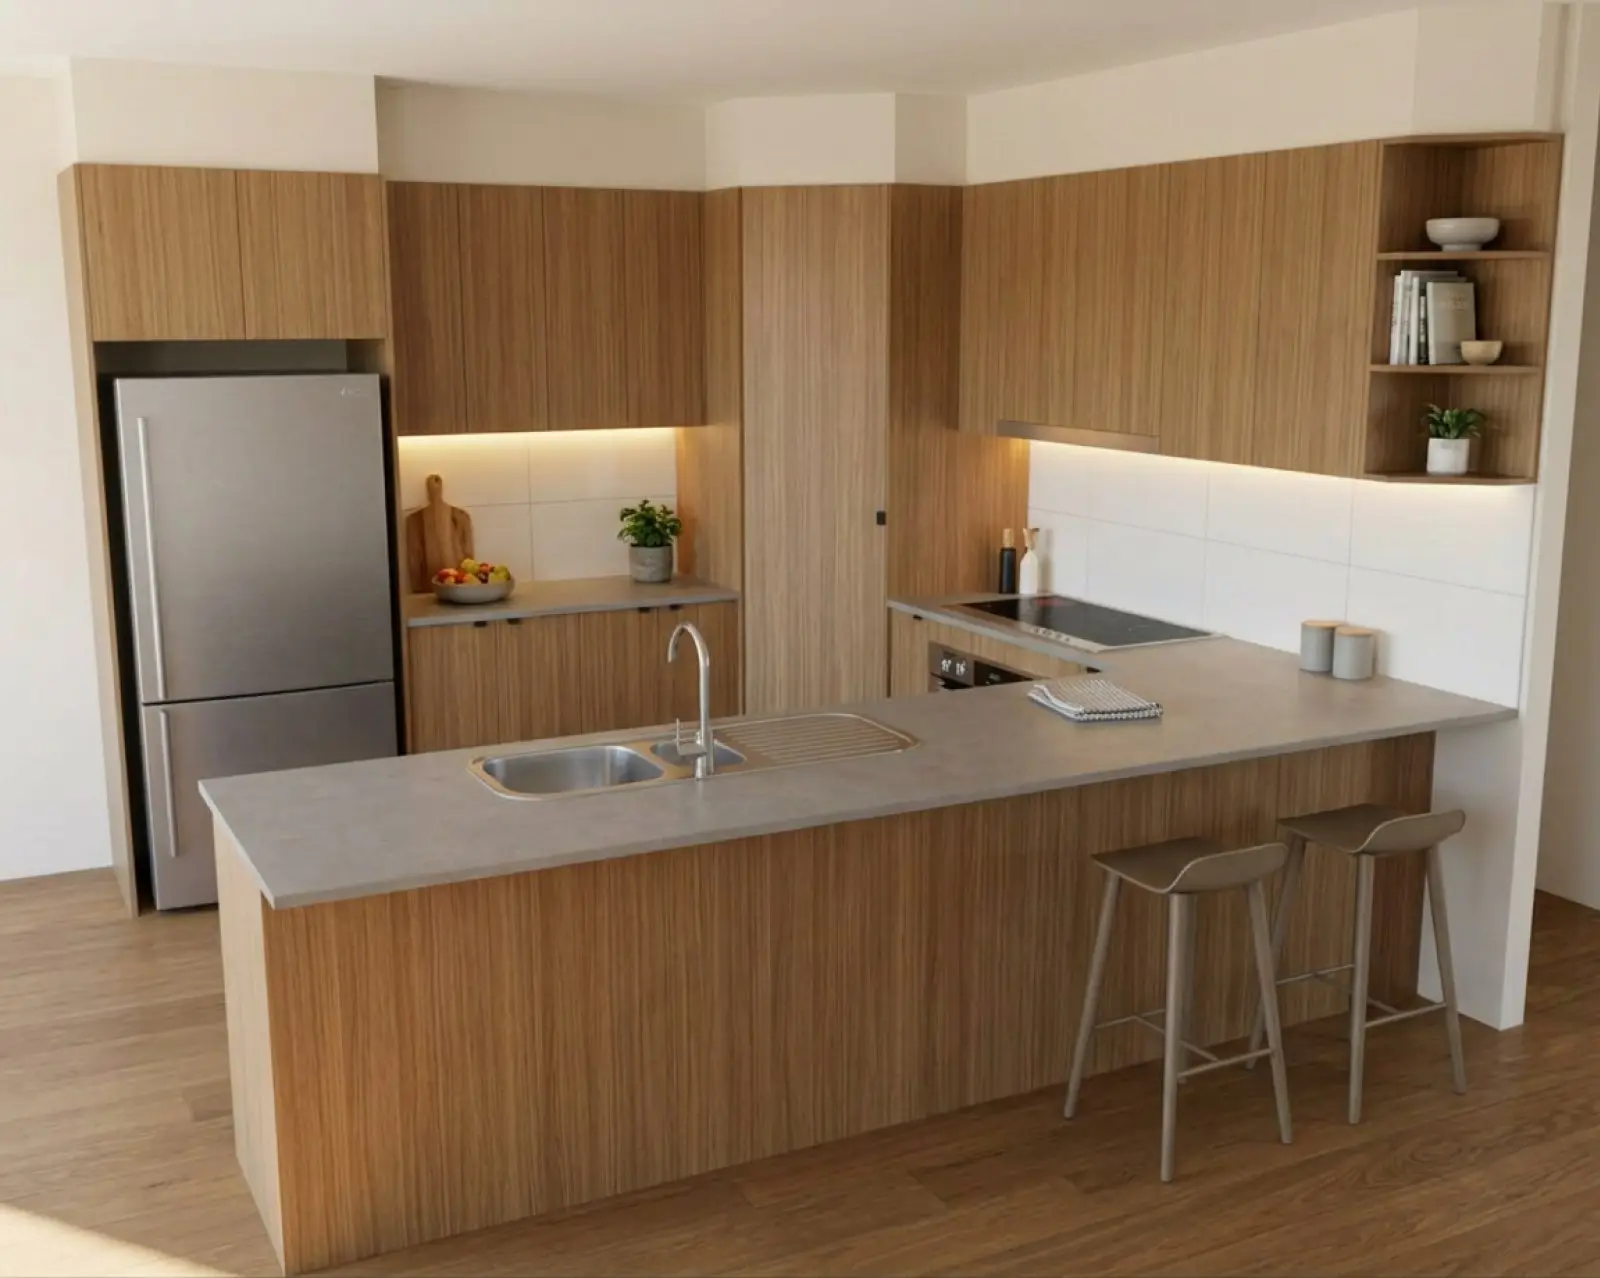
Renders are AI-generated. They closely match the finishes you pick, but they aren't exact. Check real samples before you order.
Pick everything, then press once.
Apply my changes.
Choose your colours, lights and props, then press Apply my changes. They all go on together, on the picture you already have. Nothing is redrawn, so the cabinetry has no chance to drift.
On a project's first render that pass is free. After that, updating the colours on a render is one credit however many colours you change. Pressing it after every single pick costs a credit each time, so choose the lot first.
If your drawing already has its colours on it, Use the drawing's colours sets the pickers to what's drawn. Part of a run, rather than a whole run, is done by marking that part on the render. The edit a render page shows how.
Four changes, one press. Free on a project's first render.
Paste the supplier's swatch.
Words like "dark grey" cover hundreds of greys, so the render picks one. A swatch names the one you want.
For a colour that isn't in your library:
- 01
Open the supplier's page for that colour.
- 02
Right-click their swatch and choose "Copy image".
- 03
In the studio, click the paste box and paste it.
Use a colour just for this render.
On a surface, the picture is kept against that surface for this project and sent to the render. A patterned stone or tile comes back as a close likeness of the one you pasted, rather than a description of it. Pasting another replaces it, clearing it deletes it, and nothing joins your library.
The colour dropper.
If the swatch is a patterned stone or a timber, click the spot you actually want rather than taking the average. Then check the shape chip (plain, grain, speckle or veined) matches the material.
The dropper is on the material picker, on an Appearance refine, and in the text boxes. Away from a surface it reads the colour only and keeps no picture.
Tell it how the tile is laid.
Tile layouts on the splashback and floor.
A colour alone comes back as a flat panel. The grout joint is what makes a tile read as a tile, and no colour carries it. So the splashback and the floor each have a tick to say the surface is tiled, a choice of layout, and a tile width and height typed in millimetres. The size is typed because a picture of a tile has no scale in it.
Patterned faces on the cabinetry.
A face the drawing rules with a repeating pattern shows its spacing, not what it is. The Patterned faces setting says which: tiles, fluting, timber slats, battens, V-groove panelling, shiplap boards, brick bond, herringbone, chevron or hexagon tiles. It lives with the construction settings on the doors and hardware page.
Change the splashback, keep the kitchen.
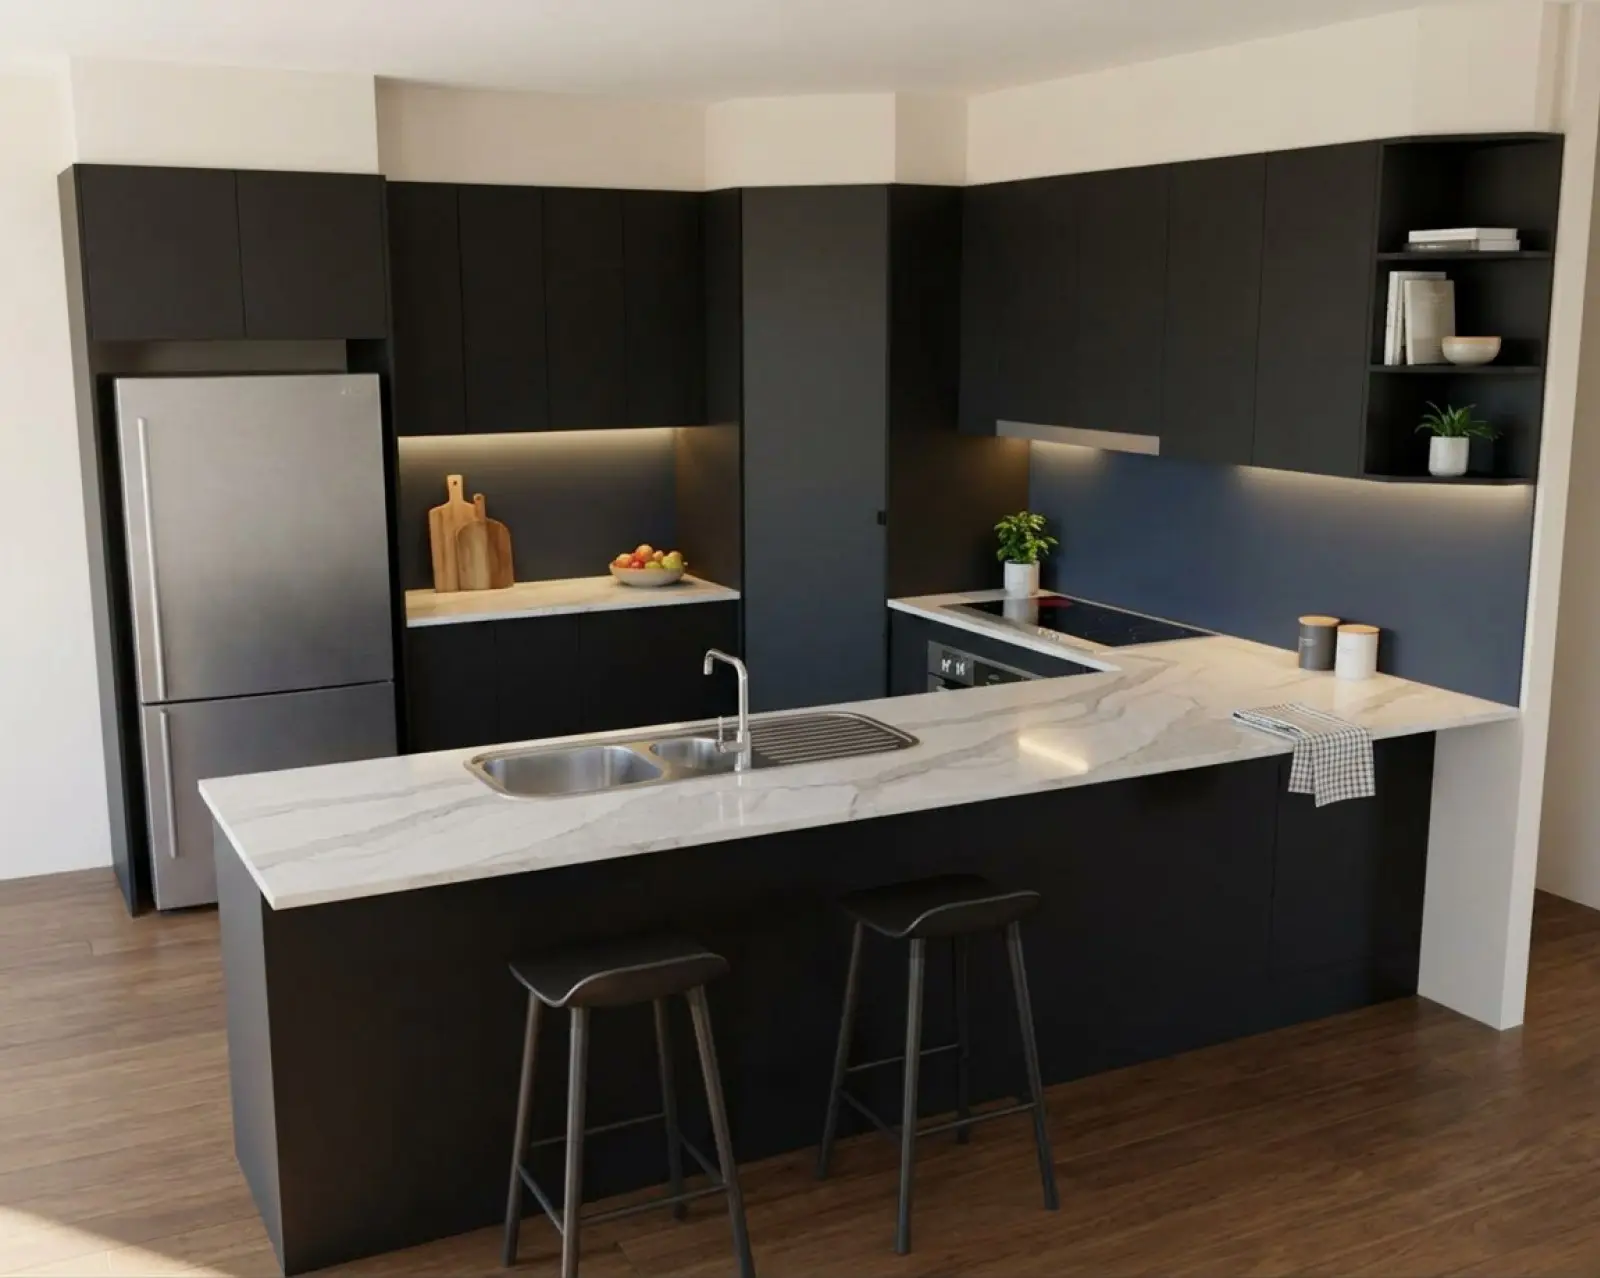
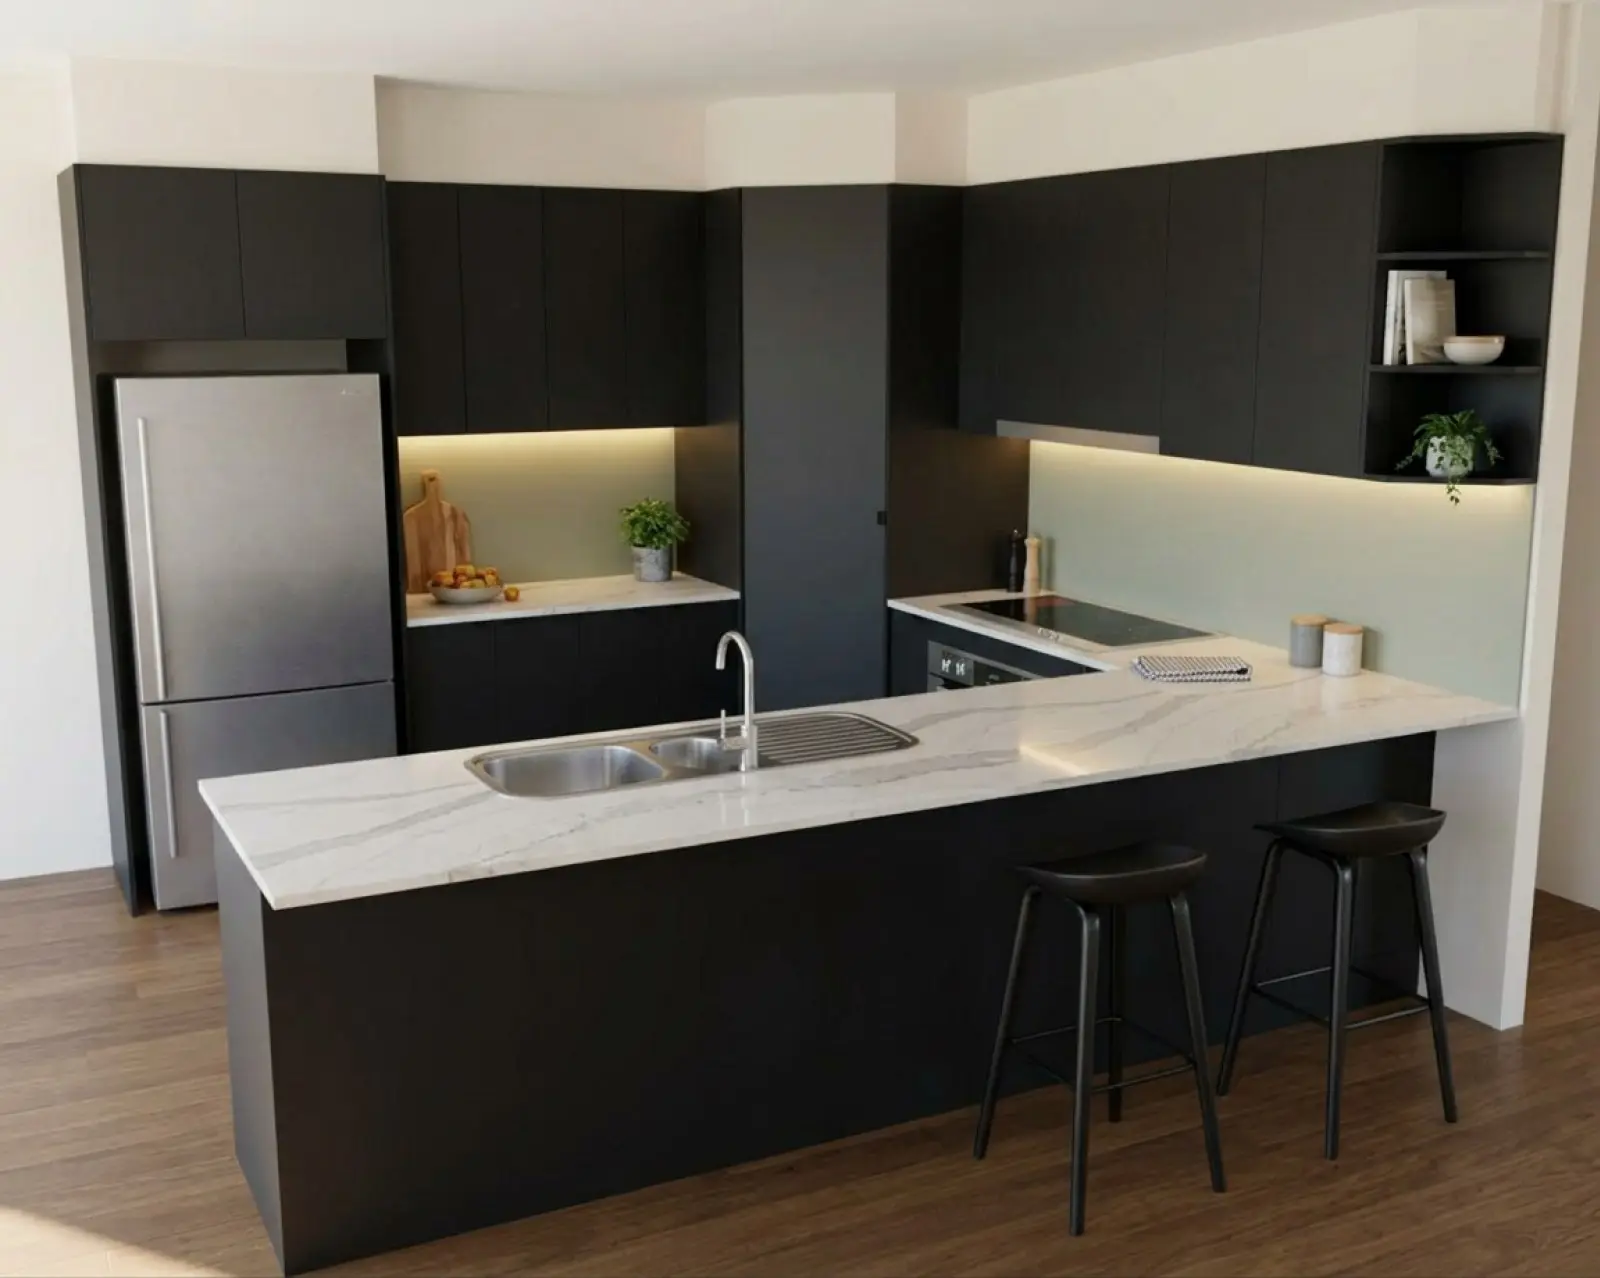
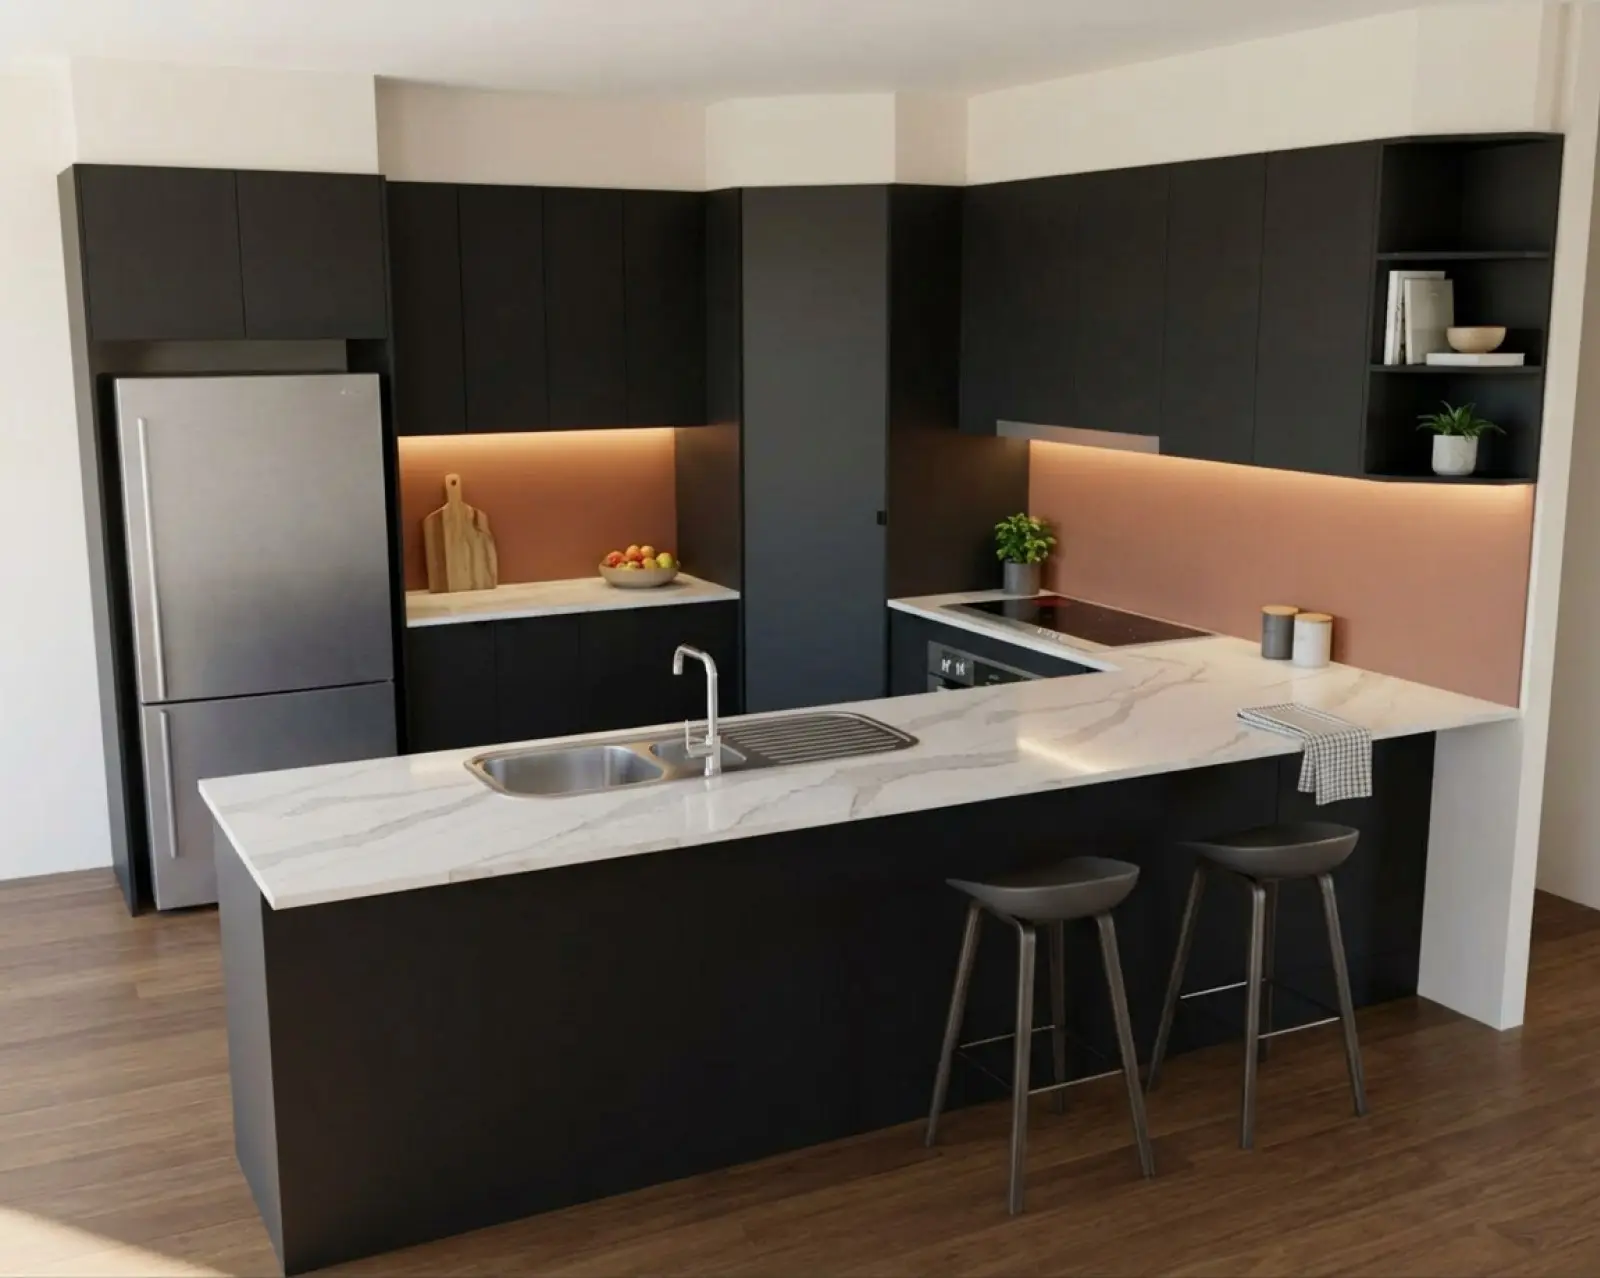
The finishes you use, saved to the account.
The material library.
The Materials page holds your account's own finishes alongside the global defaults, and everyone on the team picks from the same list in the studio. Sort them into your own categories. To add a colour, paste the supplier's swatch and the colour is read off it; the picture itself is discarded, so the colour joins your library without the supplier's image.
Each material can carry a render profile: an AI-generated description of how the material looks, made from its swatch or its colour, which goes to the render when you pick it. Materials you've stopped using can be archived, which hides them from the studio.
Image brief
Product screenshot: saved team finishes grouped into categories beside the global defaults, with a finish being selected for one cabinet run. Use invented demo names, not customer data.
Colours on screen are pictures of colours.
Pick one colour for all cabinets.
Then change the run that should differ, like the island or the overheads.
Paste swatches for anything patterned.
Stone, tile and timber come back closer from a pasted swatch than from a name.
Press Apply my changes once.
Everything you picked goes on together. For a supplier colour step by step, see the guide to matching a supplier colour.
The features around it.
Put your supplier's colours on your own drawing.
Your first five renders are free. No card needed.