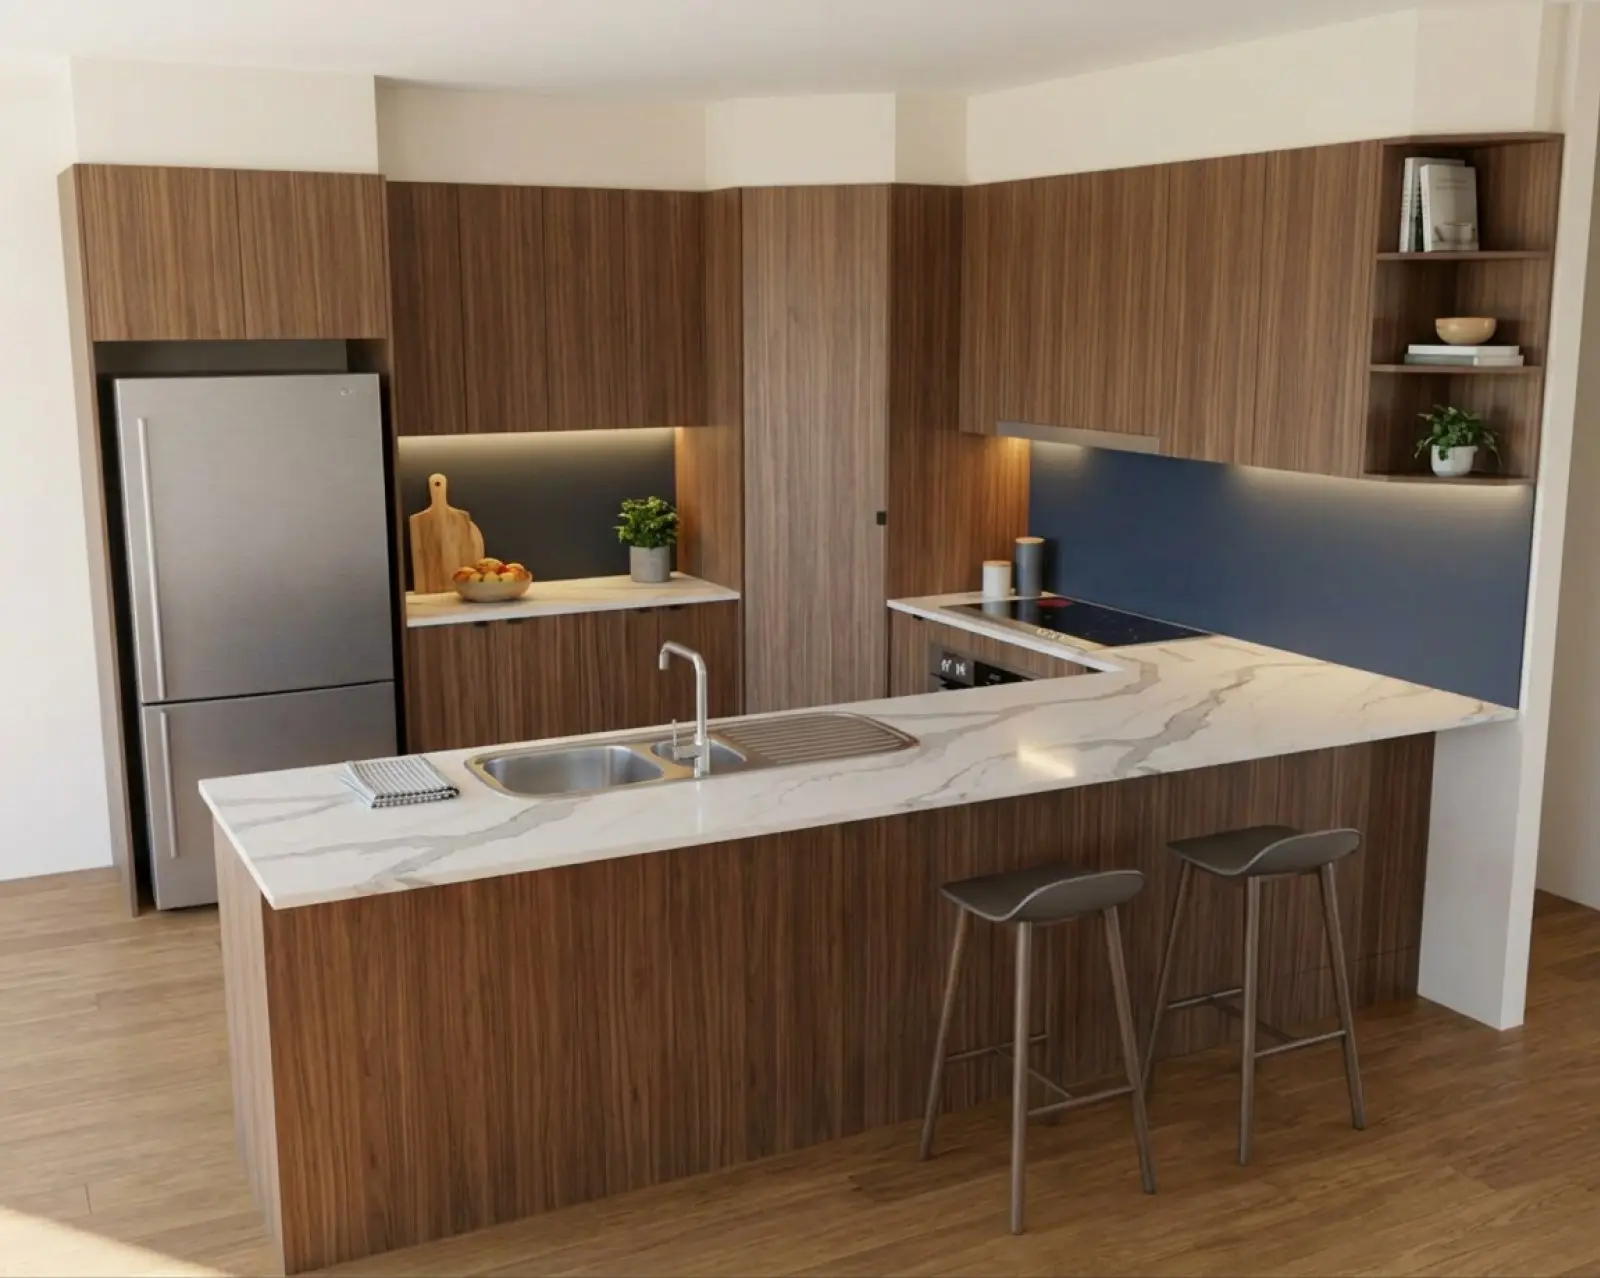
Walnut cabinets and a navy splashback (backsplash), with strip lights on under the overheads (upper cabinets).
Strip lights, the time of day, and a room that looks lived in.
For cabinet makers, set lighting and styling on an AI kitchen render from a drawing. Add LED strips and props, change the scene mood or opt into a photoshoot pass.
LED strips where you'd fit them.
Tick every light you want. They go on with Apply my changes, together with your colours and props, so there's no separate press.
Strip positions.
The positions on offer follow the room you picked for the project.
- Under the overhead cabinets, lighting the splashback and the benchtop (countertop)
- Under open floating shelves, washing down the wall below each shelf
- Under the base cabinets, shining down the kickboard (toe kick) and out onto the floor
- Inside glass cabinets, glowing through the glass
- Under a counter overhang, washing down its front
- Under each display shelf, lighting what stands on the shelf below
- Behind raised lettering on a feature wall
- Behind a mirror, glowing onto the wall at a basin
- Over the hanging rail in a wardrobe or robe
- Warm (3000K)
- Soft and golden. The usual choice under a kitchen.
- Neutral (4000K)
- Clean and white, neither warm nor blue.
- Cool (6000K)
- Bright and slightly blue. Reads as task lighting.
The light falls on whatever you choose.
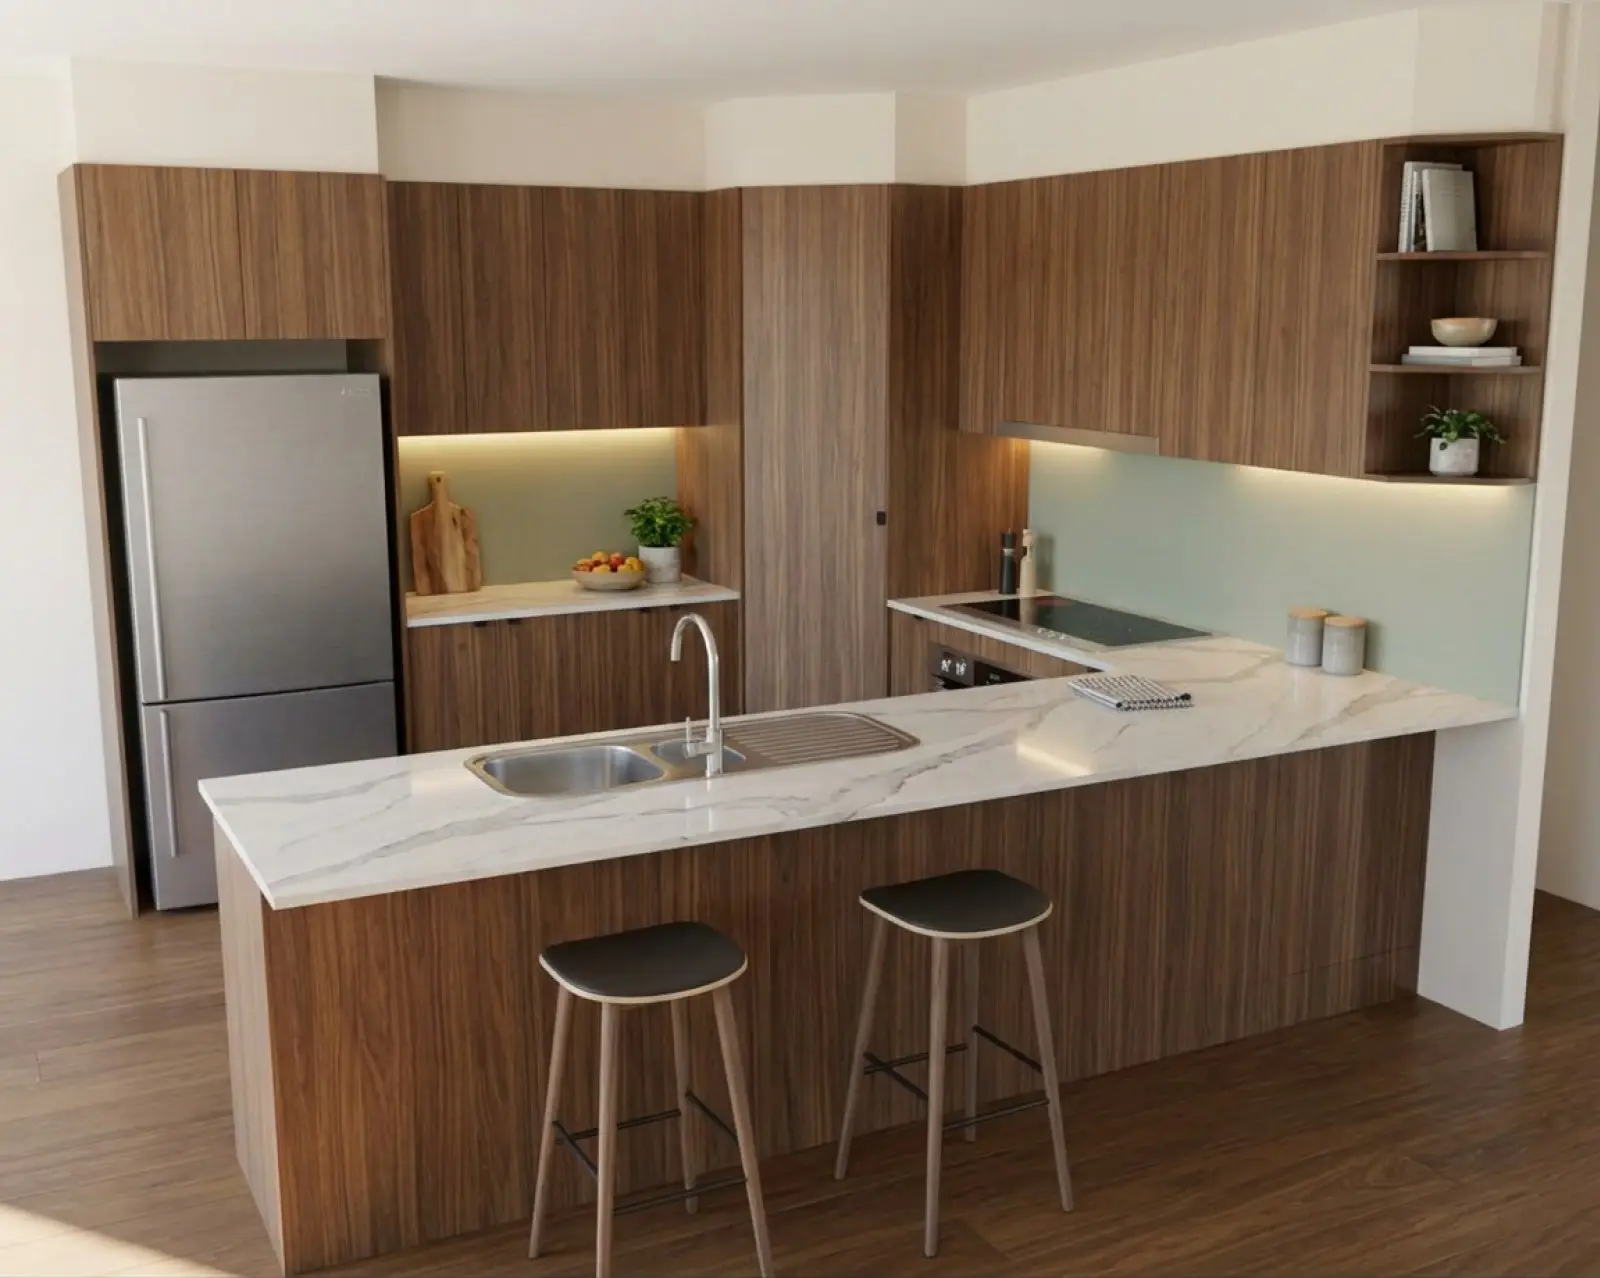
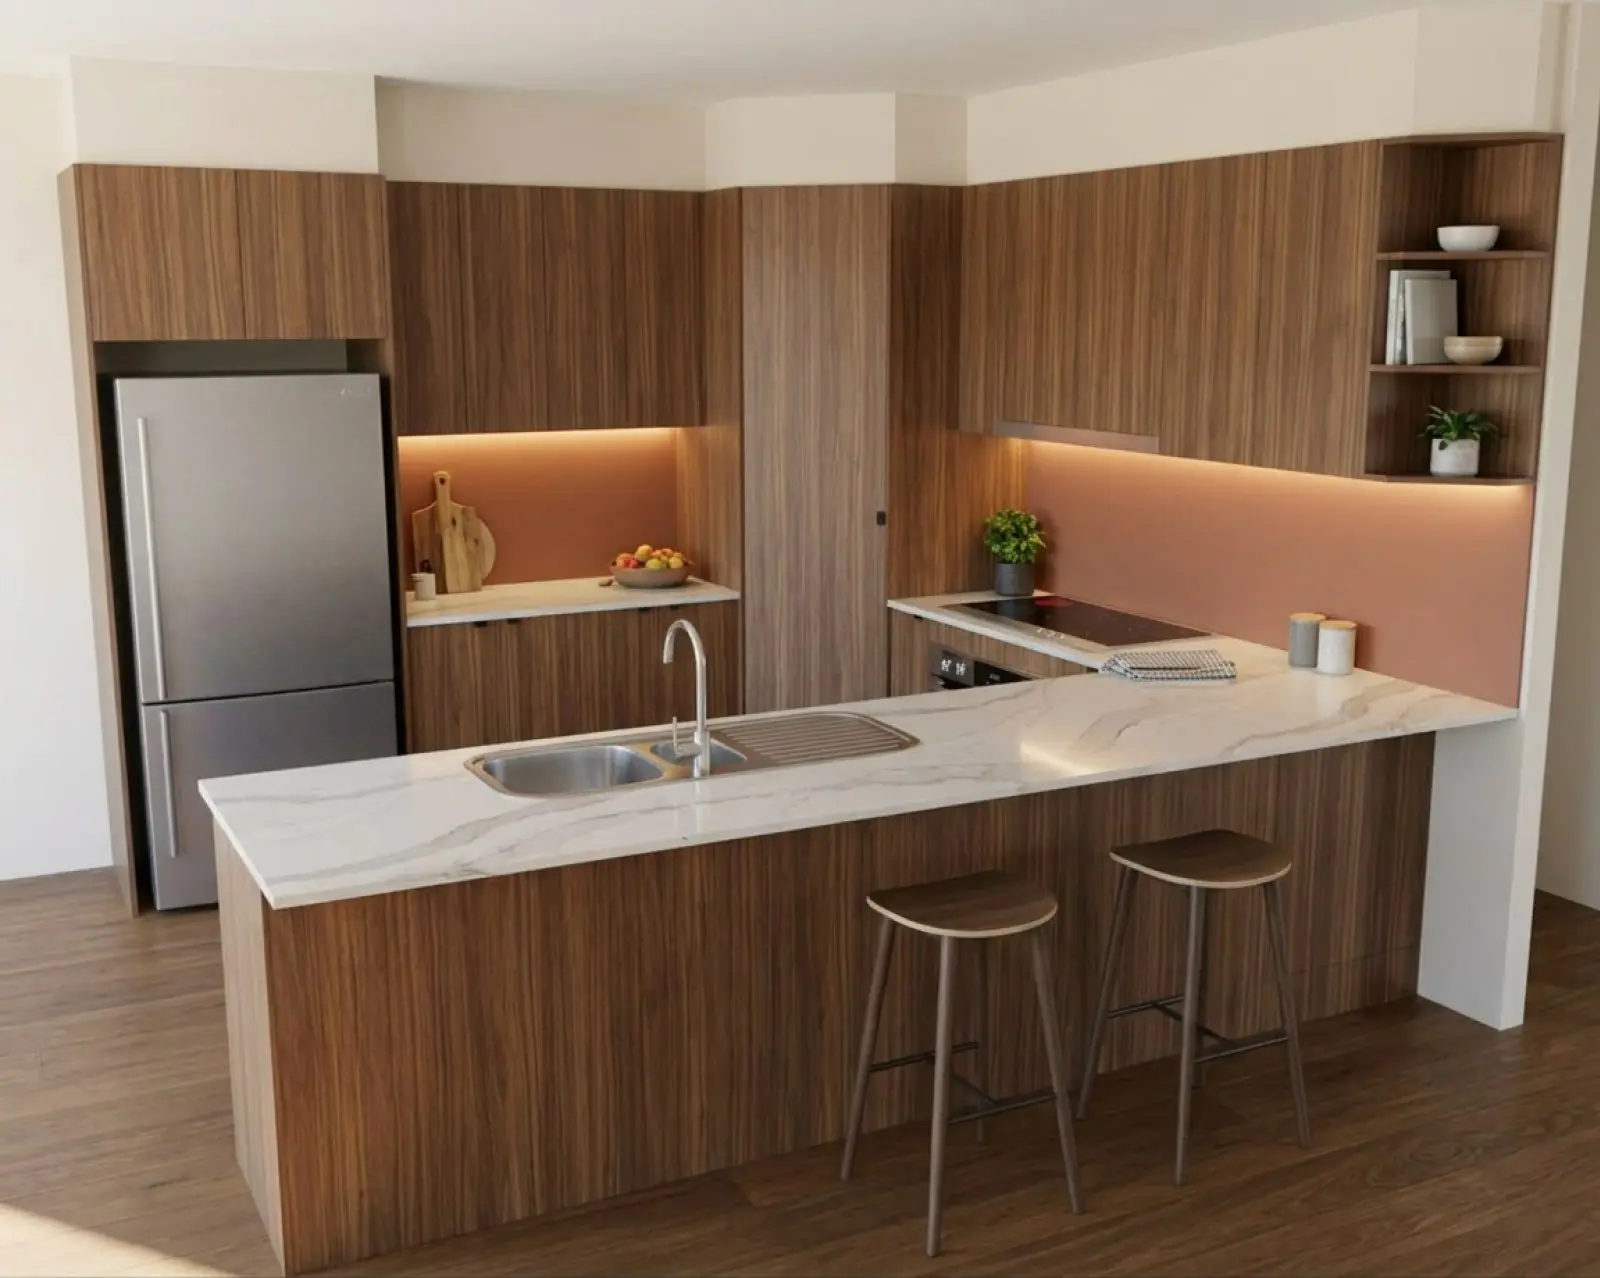
Renders are AI-generated. They closely match the finishes you pick, but they aren't exact. Check real samples before you order.
The time of day.
- Daylight
- Bright natural daylight with neutral white balance.
- Warm
- Golden residential light.
- Evening
- Low ambient light with warm accents and deeper shadows.
- Studio
- Even professional lighting with controlled shadows.
Changing the mood on a render you have.
Apply this mood re-tones a finished render: warmth, brightness, shadows. It's free. It can't move the light in the scene, so a patch of sun stays where it is. Applying another mood replaces the last one.
For real night, pick Evening and press Make it night. That asks for dark outside the windows, the room lit by its own lights and warm pools on the benchtop. Tick Ceiling downlights on for pools of light down the fronts. It's 1 credit and arrives as a new version beside the one you had, so the day version is still there.
How much gets added.
- None, drawing only
- Nothing added: no downlights, plants or props.
- Lighting only
- Ceiling downlights may be added. No props or decor.
- Lightly styled
- Downlights and a couple of props, never over anything you drew.
Put things in the render.
Tick what you want in the picture. It all goes in together, in one pass for one credit, and the cabinets, benchtop and joinery are built to stay as they were.
- Things on the benchtop: a board, a bowl of fruit, a plant, canisters
- Fill the glass cabinets: plates, glassware, a few bowls
- Fill the wine rack: bottles, one to a slot
- Things on the open shelves: a book or two, a bowl, a small plant
- Stools at the island
- A tap (faucet) on the sink: a modern mixer behind the bowls
The styled picture arrives as a new version beside the one you have, which isn't touched. If no attempt comes back clean, nothing is delivered and the credit goes back. On a photo of an existing kitchen, styling set to none keeps the loose things already in the photo rather than clearing them.
Stage the room like a listing photo.
The photoshoot pass.
Every other pass guards the room around the joinery, which is right, and it's also why a render can still look like a showroom with nobody in it. The photoshoot pass is the one that furnishes the room: furniture on the floor, styling on the surfaces, things on the walls, pendants and photographic light.
It follows the room you picked. An outdoor kitchen is staged as an alfresco, a study as an office, a bar as a bar. Under What the stylist brings you can tick items off, and the ones with more than one look carry a picker. Leave it alone and you get the classic set.
It's opt-in, because it adds a lot. The picture can shift more than with the other passes. The cabinetry is still held, but the room around it is up for grabs. The render you had is kept either way, and this arrives beside it as a new version. 1 credit.
Image brief
Matched before/after pair from one project: unstyled render and Photoshoot version, with furniture and photographic light added. Caption any joinery differences honestly rather than implying a pixel-perfect hold.
Just photograph it.
On the same tab, the Photograph pass is for a render that still looks like the 3D visual it came from. Same room, same joinery, same camera, with real-looking materials and light. Nothing is added or moved. 1 credit. There's more on it under from photos.
What the lighting is and isn't.
Light it the way you'd build it.
Your first five renders are free. No card needed.