Render the drawing you already have.
For cabinet makers and joiners, Asterlyn Space turns a hand sketch, 2D kitchen elevation or screenshot from CAD or SketchUp into a photoreal AI kitchen render.
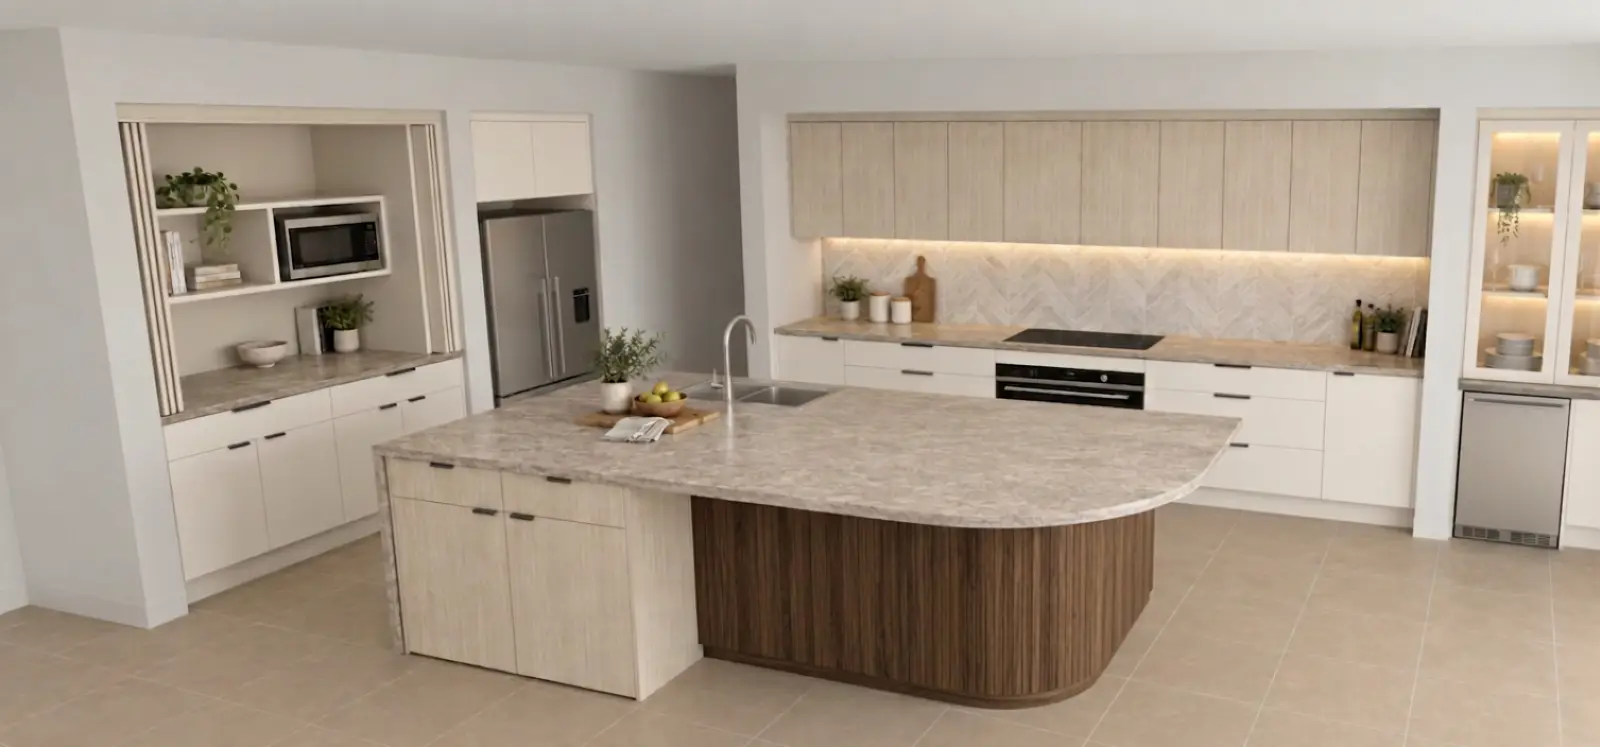
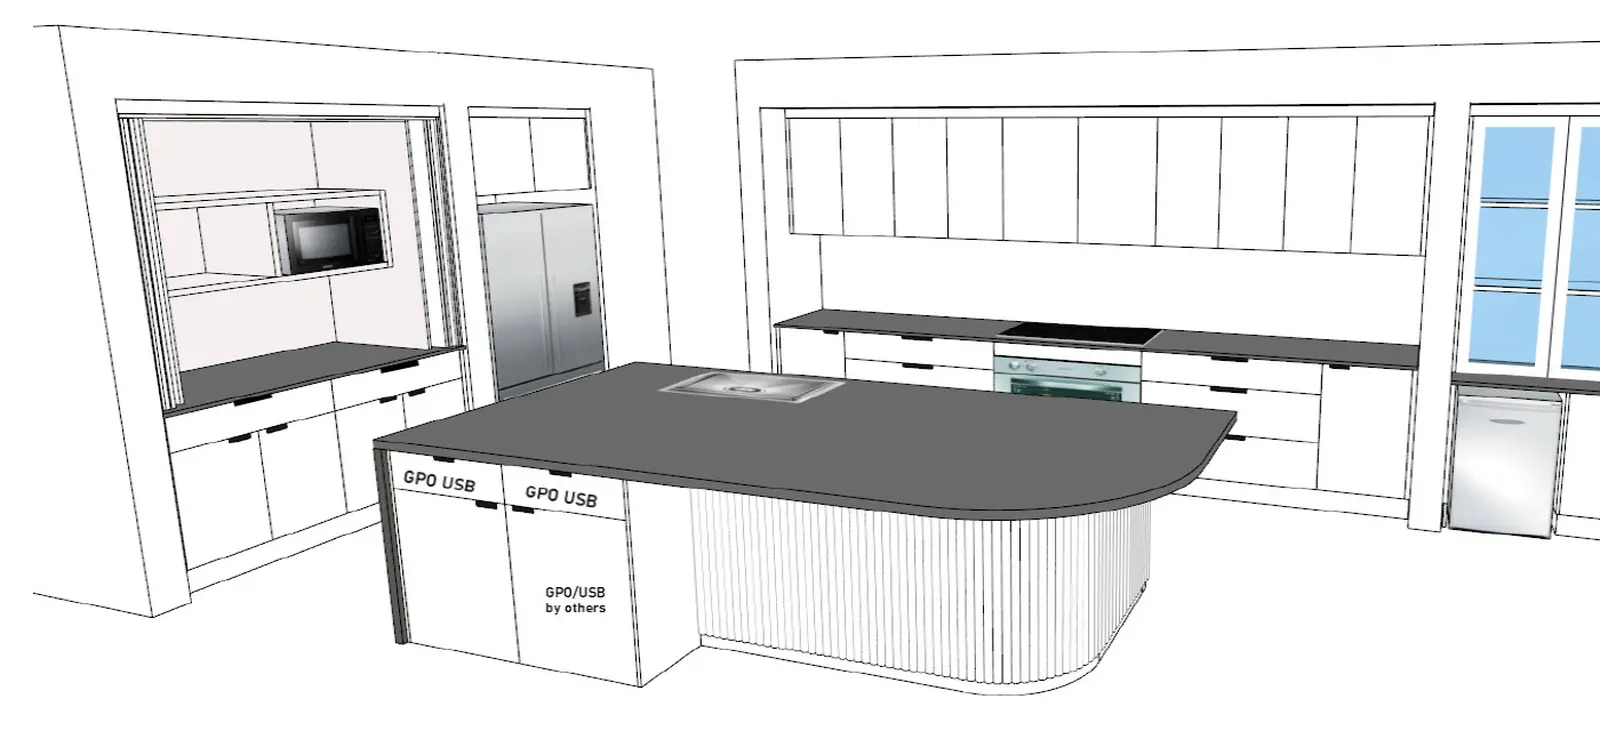
Renders are AI-generated. They closely match the finishes you pick, but they aren't exact. Check real samples before you order.
Three kinds of drawing, one way in.
You don't redraw anything for us. Upload the file and say which room it is.
Hand sketches, elevations and 3D screenshots.
A sketch on the back of a quote, an elevation from your drafting program, or a 3D view exported from CAD or SketchUp all go in the same way. Each project takes one room, picked when you create it, and the app uses that room's words from then on.
When you upload, the file is read as one of three things: a drawing, a drawing with the colours already on it, or a photo of an existing kitchen. We guess. If the guess is wrong, the Read this file as switch on the project page puts it right. A drawing, a finished drawing and a photo are rendered three different ways, so it's worth a look before you confirm.
- Drawing. Everything drawn is treated as a decision you made, and your material picks go on over it.
- Drawing with the colours already on it. Every colour, timber and finish on the sheet is built to stay as drawn, and your picks aren't applied over it. To change a run, render first, then use the colour buttons.
- Photo of an existing kitchen. Renovated in place. That has its own page.
A sheet with several drawings on it.
Upload the sheet as it is. A page with more than one drawing is split on its own gutters into one project per drawing, and each takes its room from the caption under it, so a laundry elevation is rendered as a laundry and the kitchen as a kitchen. Untick anything you don't need, like a title block. Nothing renders until you press the button.
Image brief
Product screenshot sequence: a labelled multi-room drawing sheet and the upload split review showing each detected tile, room label and the option to untick a title block. Use the same sheet in both views.
See what was found before you spend a credit.
Detections you can check.
After upload the drawing is read. The cabinets, benchtops (countertops) and openings it found appear on the drawing, so you can see what the render will be working from.
Review detections lists the appliances and sinks the reading found. Select one and it lights up on the drawing. Confirm it, or say what it really is. A cupboard read as a dishwasher renders as a dishwasher, so this is where you catch it, once, instead of fixing it on every render afterwards.
If the drawing itself has changed, use Re-read drawing. It reads the sheet from scratch and replaces what was found. Anything you set on a detected region is lost; regions you drew yourself are kept.
Two ticks that change how it's read.
Grey marks the feature colour. Tick this if you shaded runs grey to show where the feature colour goes. Those runs come back in the scheme's feature colour and the white runs in its quiet shade. It's a tick rather than a guess because most drawing programs shade every cabinet grey by default, and there's no telling that grey from yours by looking. Left off, grey is read as drawn.
Hand sketch, build it properly. Tick this if you drew it freehand. The render is built to keep your runs, your counts and where the sink and cooktop sit, then builds the kitchen straight and square. Left off, it follows your lines the way it does every drawing.
What comes back, and what to press next.
A showroom scheme first, then your materials.
A room being drawn for the first time is easier to get right when nobody is describing colours at the same time. So the first roll builds your kitchen in one of our showroom schemes, a different one each time, with a plain tile floor where your drawing shows none. Your materials go on straight after, on the picture that came back.
On a project's first render that second pass is free: one credit buys both. Choose your materials before you render and they go on by themselves once the plain picture lands. Anything your drawing already colours in is built to stay as drawn.
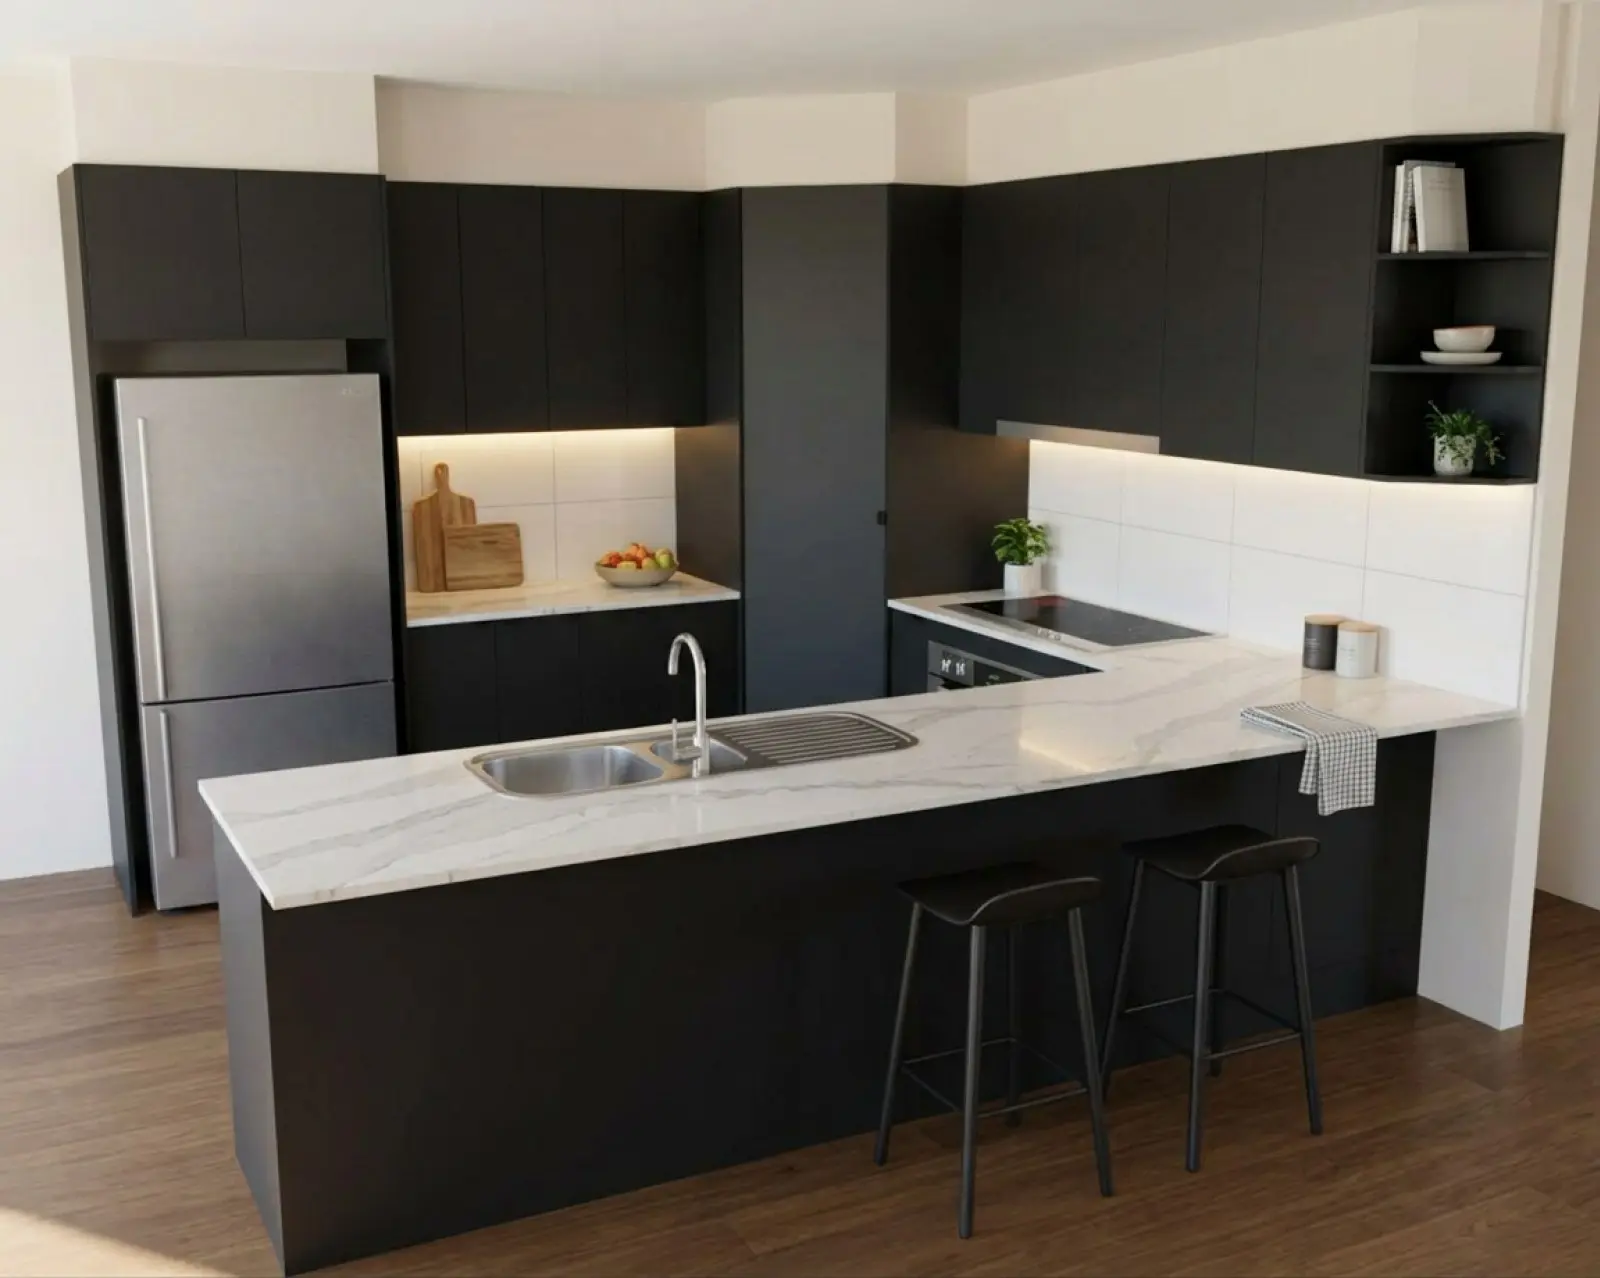
Render, or Draw it again.
Render puts your chosen colours on the picture you already have. Nothing is redrawn, so the cabinetry has no chance to drift. One credit.
Draw it again throws the picture away and draws the room fresh. Use it when the drawing itself came back wrong: a missing run, or a cabinet that was invented. It comes back in a fresh showroom scheme and clears your colour picks, so putting them back on is a second credit. If one part of an otherwise good picture is wrong, mark that part and edit the render instead.
What it won't do.
A drawing that reads well.
Pick the room first.
The room you choose for the project decides the words the whole app uses, so a laundry is asked about its overheads (upper cabinets) and its tub rather than about a kitchen.
Upload a multi-drawing sheet as it is.
Leave the captions under each drawing. They are how each project gets its room.
Shade the feature runs grey, then tick the box.
Without the Grey marks the feature colour tick, grey is read as a colour you drew.
Check the reading before you render.
Open Review detections and correct any appliance or sink that was read as the wrong thing.
There's more on getting a drawing ready in the guide to preparing a drawing.
Upload a drawing you already have.
Your first five renders are free. No card needed.