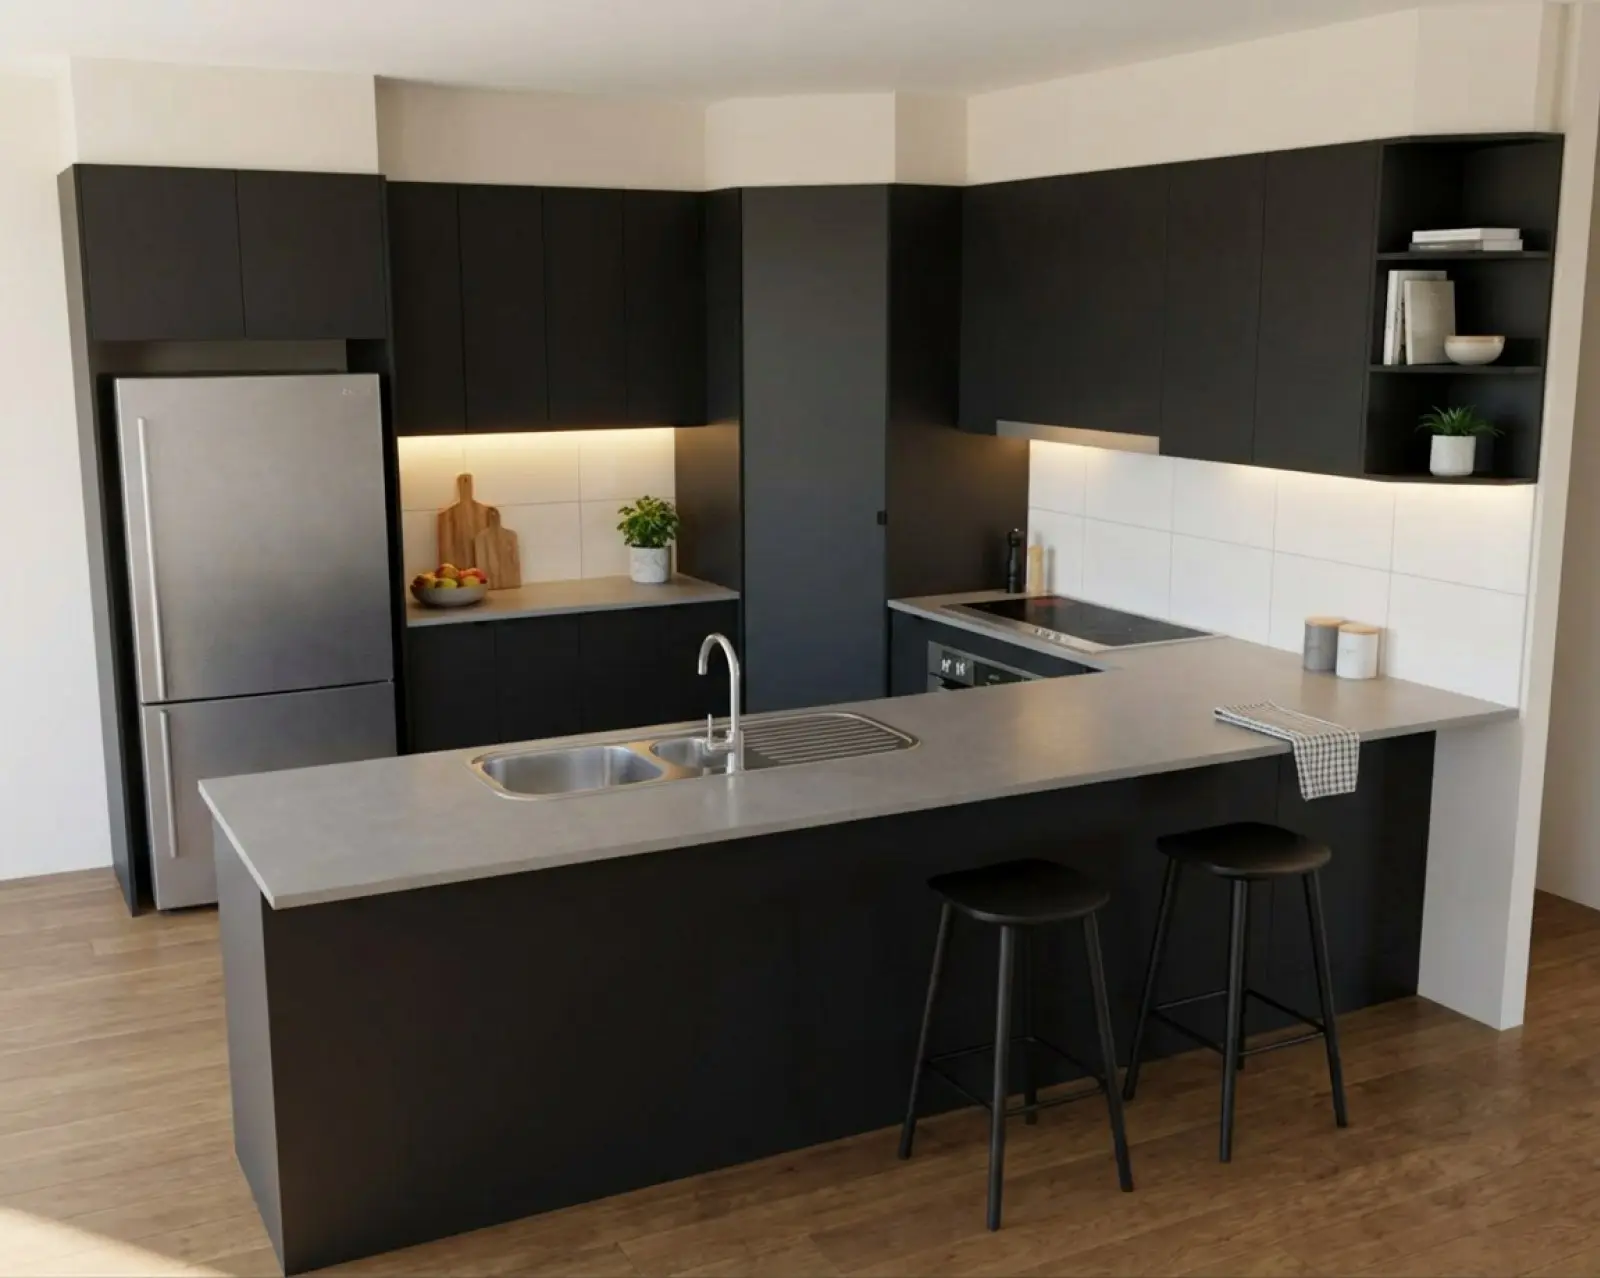
Matte black cabinets with a grey stone benchtop. A real Asterlyn Space render.
From the drawing you have to a picture the customer can see.
Asterlyn Space takes the drawing or photo you already have and gives you back a photoreal AI render in a couple of minutes. Here is the whole job in order, with what each step costs.
Nine steps, most of them free.
Create a project and pick the room
Name the job and choose the room: kitchen, laundry, vanity, wardrobe and more. No credit.
Upload what you have
A hand sketch, a 2D elevation, a 3D CAD or SketchUp screenshot, or a photo of the room there now. No credit.
Check what was read
The cabinets, benchtops (countertops) and openings it found appear on the drawing. Correct them in Review detections. No credit.
Pick the materials
A colour for each run, then the benchtop, splashback (backsplash), floor, walls and the rest. No credit.
Render
The first render of a project is 1 credit, and that one credit also puts your materials on.
Look, then fix what is wrong
Mark the part that is off and say what it should be. 1 credit a pass.
Lights, dressing and a photoshoot
Turn lights on, dress the benchtop, or stage the whole room. 1 credit a pass, and all of it is optional.
Take it up to 2K
At the end, draw the picture you settled on again at full size. 2 credits.
Download and send
Download the render and send it to the customer. No credit.
Start a project, then upload.
Pick the room first
When you create a project you choose the room it is for: kitchen, kitchenette, scullery, butler's pantry, pantry, bar, outdoor kitchen, vanity, ensuite, powder room, laundry, wardrobe, walk-in robe, linen cupboard, TV unit, shelving, study, mudroom, garage storage, workshop, shop counter or other.
The whole app changes with that choice. The runs are named in that room's words, so a laundry asks about its benchtop and its overheads (upper cabinets) rather than about kitchen cabinets. There is more on each room on the rooms page.
Upload the drawing or photo
Use what you already have. Any of these work:
- a hand sketch
- a flat 2D elevation
- a 3D CAD or SketchUp screenshot, like the one here
- a photo of the room that is there now
A photo is treated as a finished room, not a drawing. It is renovated in place, keeping the room, the light and the camera, with your materials on it. If a file is read as the wrong kind, the Read this file as switch on the project page puts it right.
A sheet with several drawings on it can go in as it is. It is split on its gutters into one project per drawing, and each takes its room from the caption under it. Nothing renders until you press the button. More on rendering from a drawing and rendering from a photo.
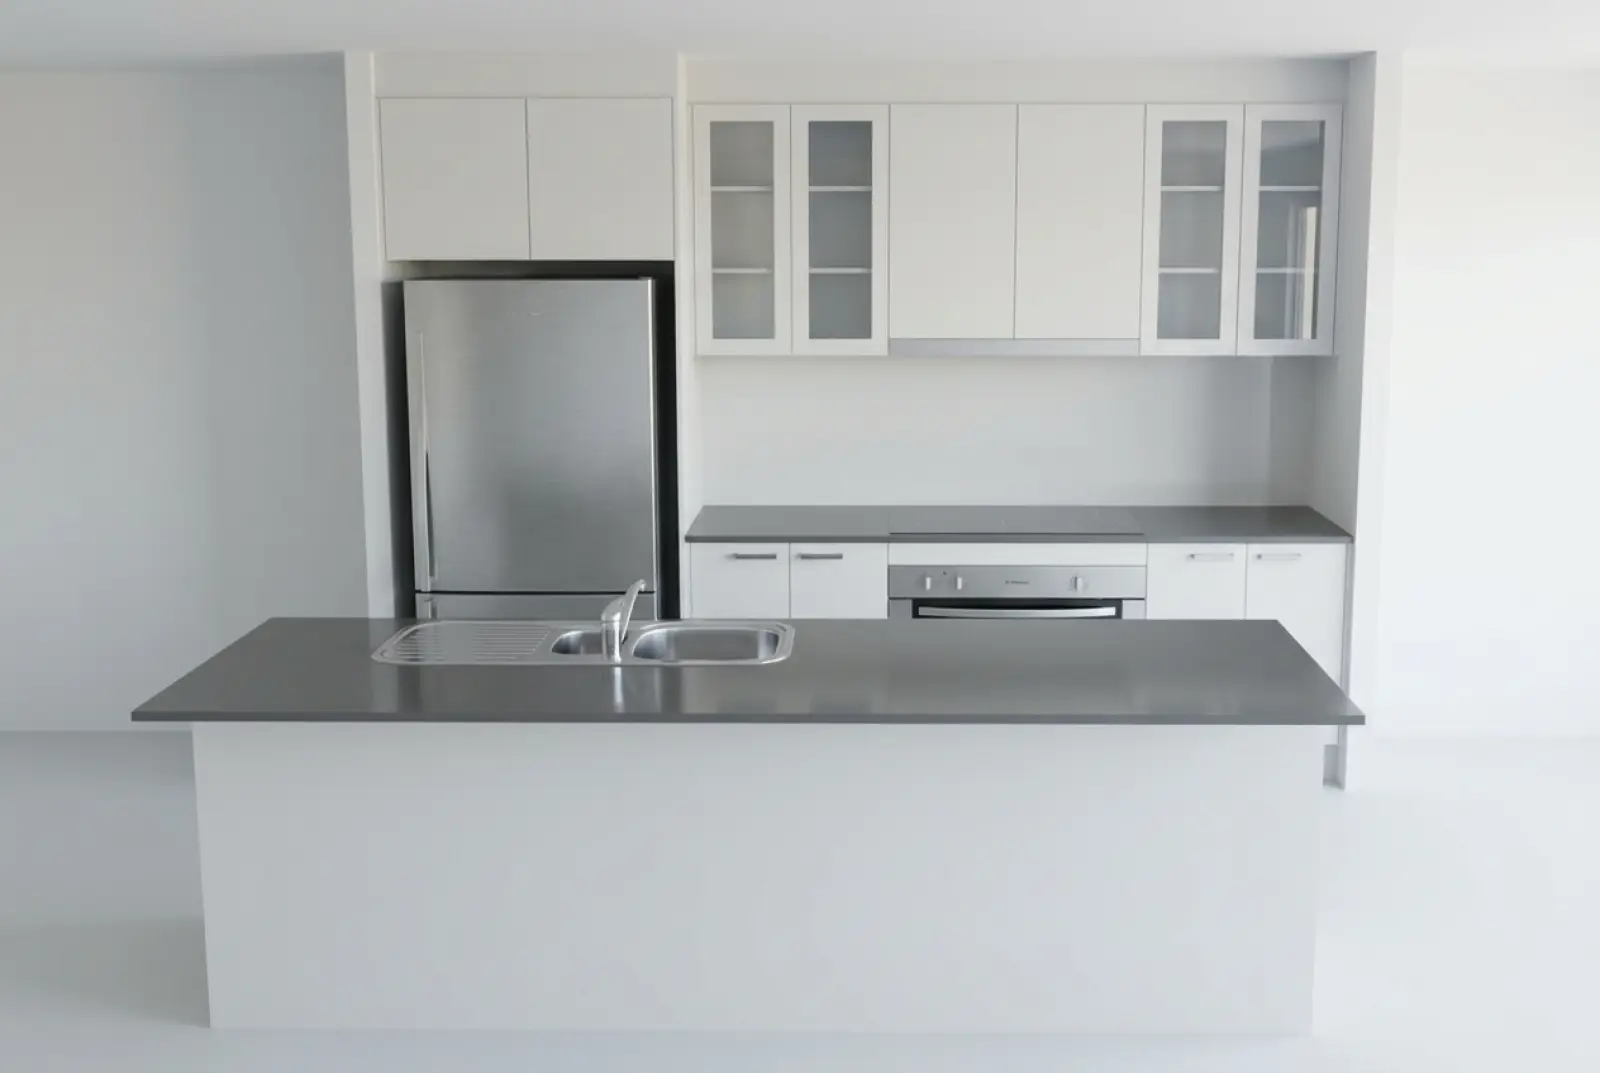
Check what was read before you spend a credit.
Review detections
After the upload, the drawing is read. The cabinets, benchtops and openings it found appear on the drawing. Open Review detections to see them and correct anything that is wrong. Fixing it here is quicker than fixing the same mistake on every render afterwards.
If the drawing itself changes, use Re-read drawing. If you shaded some runs grey to show where the feature colour goes, tick Grey marks the feature colour and those runs come back in the scheme's feature colour. It is a tick rather than a guess because most drawing programs shade every cabinet grey.
Image brief
Product screenshot: the uploaded drawing with detected cabinet runs and openings outlined, alongside the Review detections list. Use an approved demo project; show one correction before the first paid render.
Pick the materials.
A colour for every run
The Materials panel has a colour for each run: overheads, base cabinets, island, tall units, oven tower, the cabinet above the fridge, open shelving and panels. Then the benchtop, splashback, floor, walls, kickboards (toe kicks) and bulkhead.
Pick from your material library, or copy a supplier's swatch image and paste it into the studio. On a surface the pasted picture is kept for that project and sent to the render, so a patterned stone or tile comes back as a close likeness of the one you pasted. See colours and materials for the detail.
Choose everything before you render. On a project's first render your picks go on for free. After that, Apply my changes is a credit a press, so set the lot and press it once.
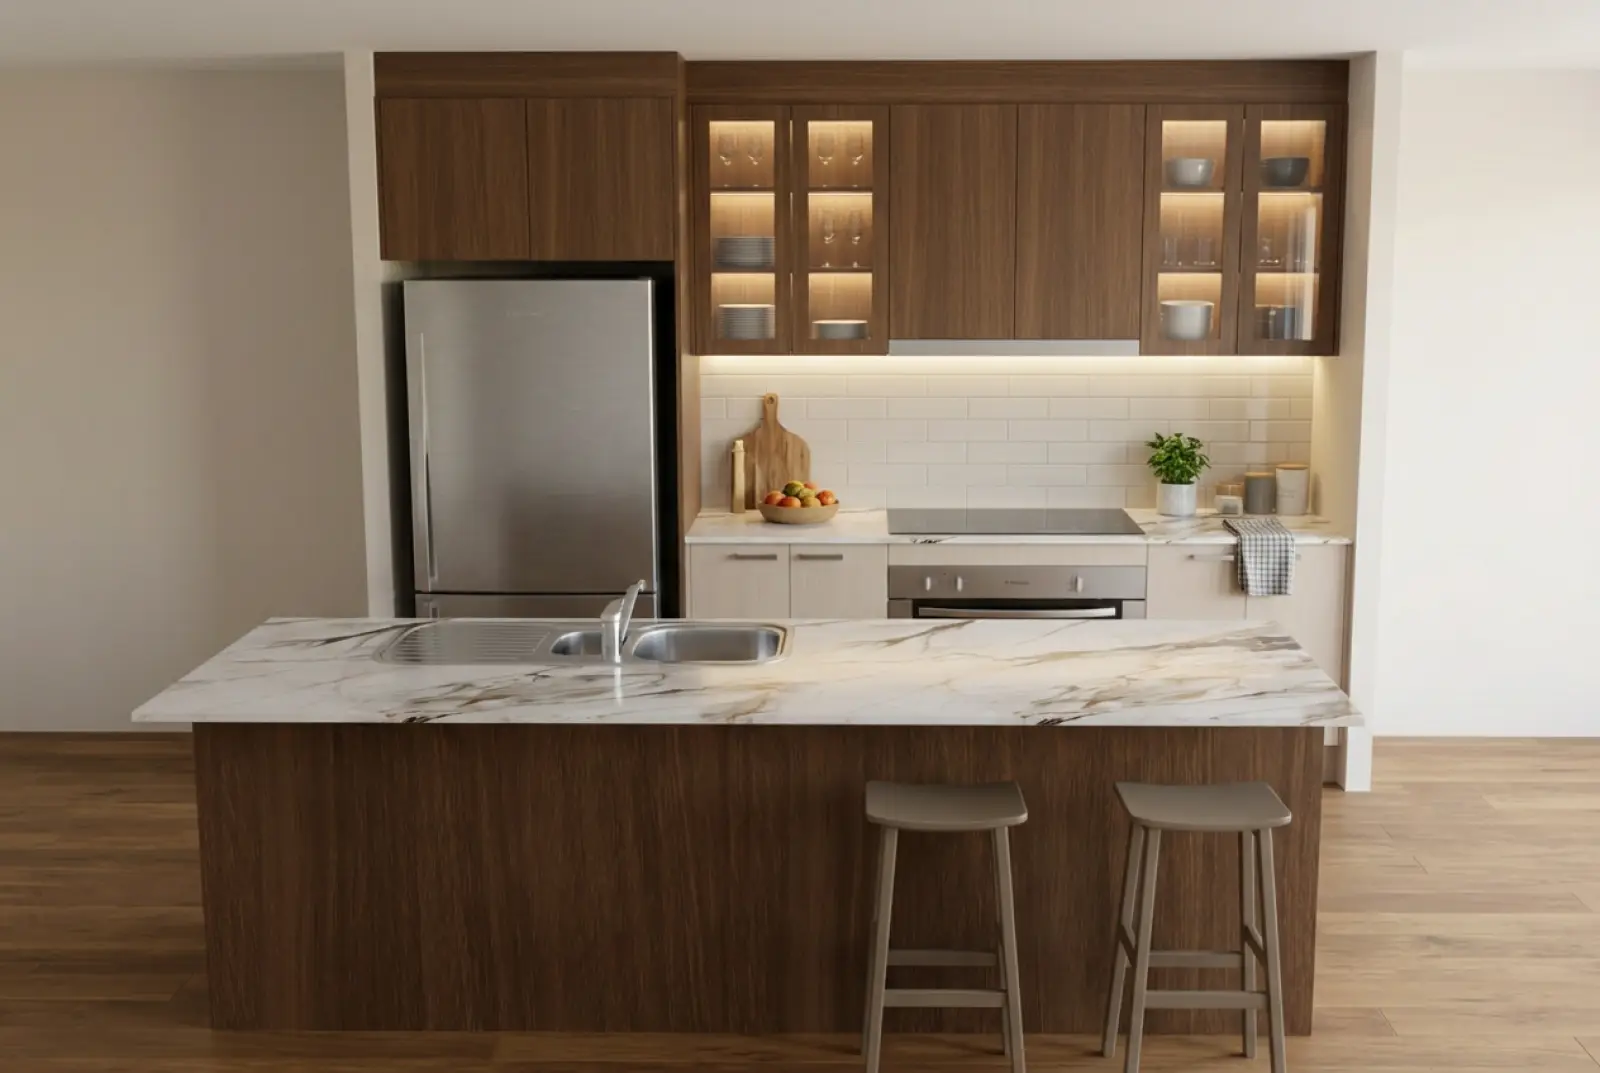
Renders are AI-generated. They closely match the finishes you pick, but they aren't exact. Check real samples before you order.
Render.
Two passes for one credit
Press Render and wait a couple of minutes. The first render of a project happens in two passes. The first builds the room from your drawing in one of our showroom schemes, because a picture being drawn for the first time is easier to get right when nobody is describing colours at the same time. Then your materials are put on that picture straight after.
That second pass is free on a project's first render: one credit buys both. You don't press anything for it. Anything your drawing already colours in is kept as drawn.
The render reproduces the runs, doors and drawer fronts where the drawing shows them. Every pass is kept as its own version, so nothing you have made is lost when you try something else.
Look at it, then fix what is wrong.
Mark the area and say what it should be
It is usually quicker to render, look, and then fix the part that is wrong than to try to get everything right first go. Draw a box or a shape on the render around the area, then choose how to change it:
- Appearance recolours what is already there.
- Object / detail lets the marked area change shape: add a wine rack, take a shelf out, swap a cooktop.
- Text instruction takes the change in your own words. Mark an area, or mark nothing to change the whole render.
Everything outside the mark is built to stay as it was. If a box stops halfway along a door, the edge is pushed out to the nearest join. Each refine is 1 credit. More on editing a render.
Render or Draw it again
Render (Apply my changes) puts your chosen colours on the picture you already have. Nothing is redrawn, so the cabinetry doesn't drift. 1 credit.
Draw it again throws the picture away and draws the room fresh from the drawing. Use it only when the drawing itself came back wrong: a missing run, or a cabinet that was never drawn. It comes back in a fresh showroom scheme and clears your colour picks, so putting colours on the new picture is a second credit. The picture you had stays in the history.
Lights, dressing and a photoshoot, if you want them.
Light it and dress it
The Lighting tab adds LED strips under the overheads, under floating shelves, in the kickboards, inside glass cabinets and more, in warm, neutral or cool white. Scene lighting sets the mood: daylight, warm, evening or studio. A relight pass turns the ceiling lights on or changes the mood.
Dressing puts things on the benchtop, fills glass cabinets, a wine rack or open shelves, and adds stools at the island or a tap (faucet) on the sink. These go on with the same Apply my changes as your colours, so set them together.
The Photoshoot pass stages a finished render the way a house is photographed for a listing, with furniture, a rug and things on the walls. It adds a lot, so the picture can shift more than other passes. The render you had is kept, and this one arrives beside it as a new version. For a render that still looks like the 3D visual it came from, Photograph re-photographs it with real materials and light. Each is 1 credit. See lighting and styling.
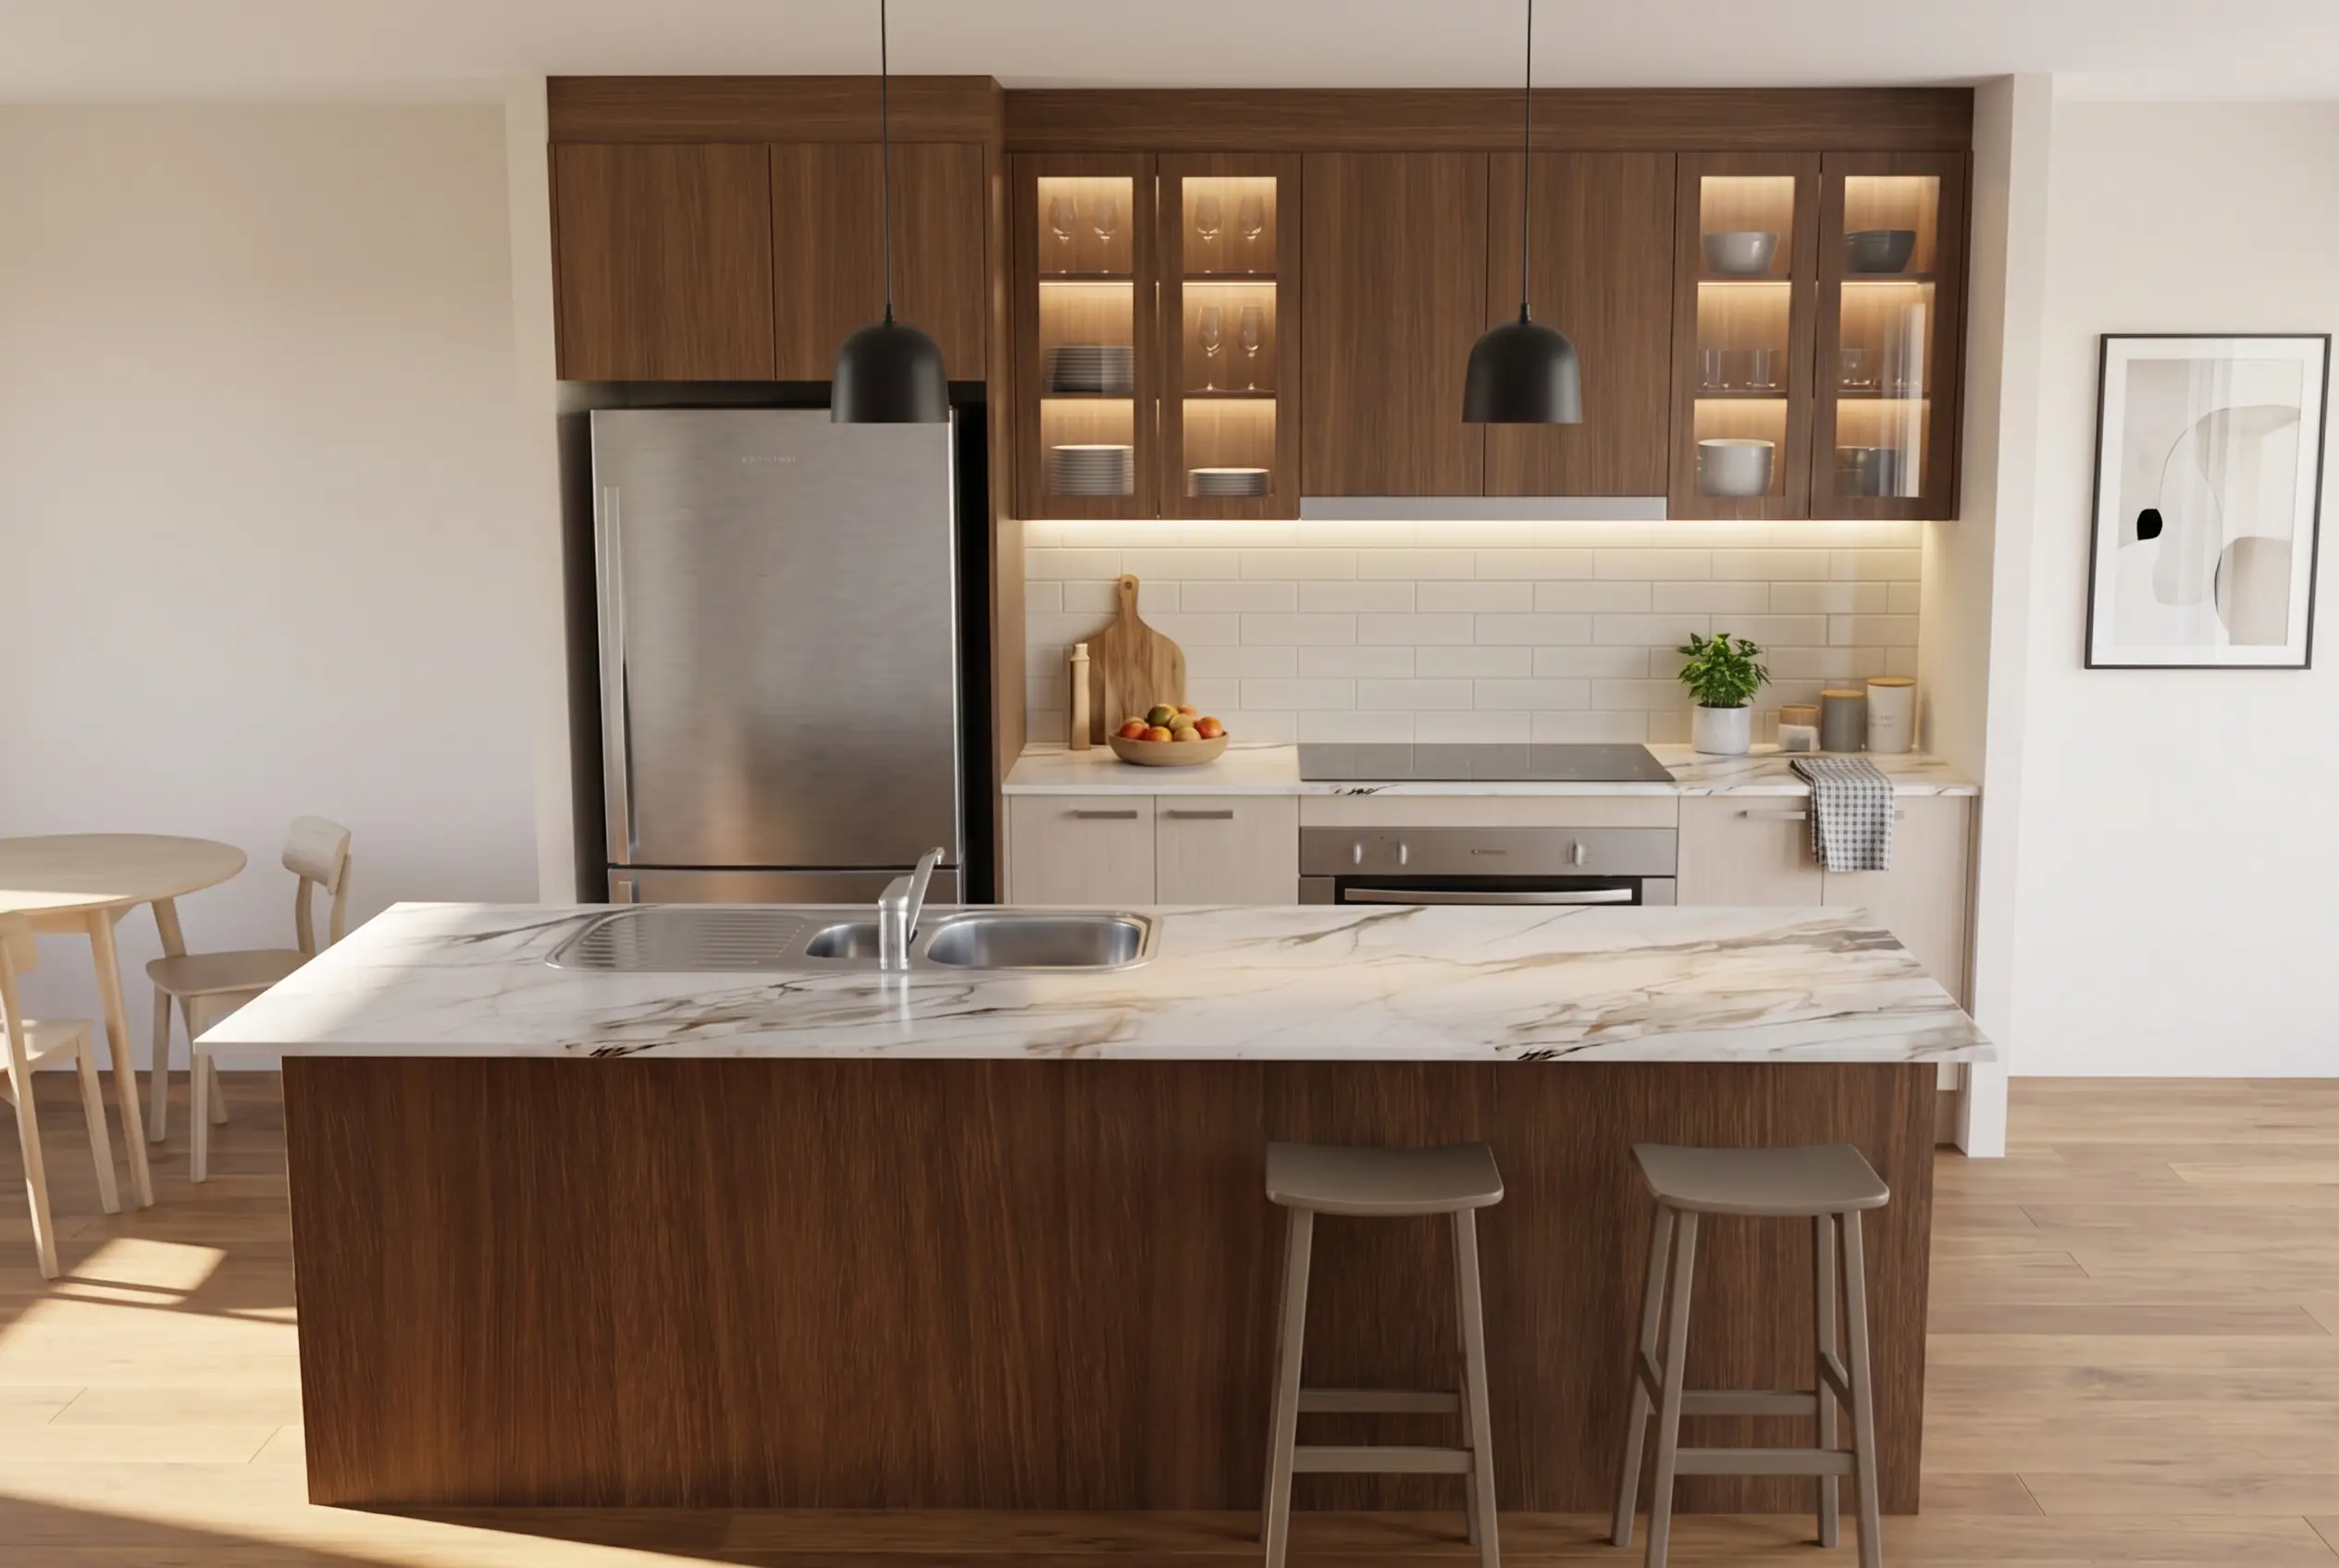
Take it up to 2K, then send it.
Full size, done last
A normal render is smaller than 2K. When you have the picture you want, Full size draws it again at 2K, about 2500 × 1700. It is drawn again at that size, not enlarged, and it costs 2 credits. If anything comes back changed, nothing is delivered and the credits go back.
Do it last. Each pass redraws the one before, so fine detail softens a little after several changes. Taking it up to size brings the detail back.
Download and send
Download the render and send it to the customer however you normally would. Downloading doesn't use a credit. Compare versions with the slider or side by side first if you want to show the customer two options. The guide to showing the customer has more on that.
What each step costs.
- Creating a project, uploading, Review detections
- No credit
- First render of a project
- 1 credit, with the materials pass included free
- Apply my changes (colours, lights, props)
- 1 credit
- Draw it again
- 1 credit, and putting colours on the new picture is another
- A refine (Appearance, Object / detail, Text instruction)
- 1 credit
- A relight, such as Make it night
- 1 credit
- Photoshoot or Photograph pass
- 1 credit
- Full size at 2K
- 2 credits
- A render that fails or does not finish
- The credit goes back
- Downloading a render
- No credit
Credits come with your plan each month, and top-up packs are there if you run short. See plans and pricing →
What it won't do.
The features behind each step.
Run a job of your own through it.
Your first five renders are free. No card needed.