Showing the customer.
A render earns its keep when the customer is looking at it. Some practical ways to use Asterlyn Space renders in the sales conversation, and how to be straight about what they are.
You can read an elevation at a glance. Most customers can’t, and the conversation stalls on “I can’t picture it”. A render gives them something to react to. The aim is a customer who can see the look they’re buying, and a clear line between that picture and the job you’ll actually build.
A simple way to run it
Before the meeting: render what they asked for
Get the scheme the customer described onto the picture, and fix anything that came back wrong. Check every render yourself before they see it.
Add one or two alternatives
A second colour for the island, a darker benchtop. Each pass is kept as its own version, so you arrive with a short set to flip between rather than one picture to defend.
In the meeting: compare, then change one thing
Put two versions next to each other with Side by side or Slider compare. If the customer wants to see one more option, change that one thing and let it render while you talk.
After: take the chosen one up to 2K
Once they’ve settled on a version, take it up to 2K in Full size, then press Download render and send it with the quote.
Send versions, not one picture
One render invites a yes or a no. Two or three versions invite a choice, and the customer tells you what they like by what they point at. Every pass in Asterlyn Space is kept as its own version, so the alternatives cost nothing extra to keep once they’re made.
Keep the differences few and clear: one change per version is easier to compare than three. If the customer is choosing between two benchtops (countertops), show the same kitchen with each, rather than two different schemes.
Change one thing live
A colour change on the picture you already have is 1 credit and takes a couple of minutes. That’s short enough to do while the customer is still at the table or on a call. A few things make it go smoothly:
- Pick everything, then press once. Apply my changes puts colours, lights and props on together. Pressing it after every single pick costs a credit each time.
- Have the swatches ready. Paste the supplier’s swatch for the colour they’re asking about, rather than typing a colour name (see matching a supplier colour).
- Change one part, not the room. To change part of a run or a single item, mark it and refine (see fixing part of a render). Drawing the whole room again mid-meeting starts from a fresh scheme and clears your colour picks.
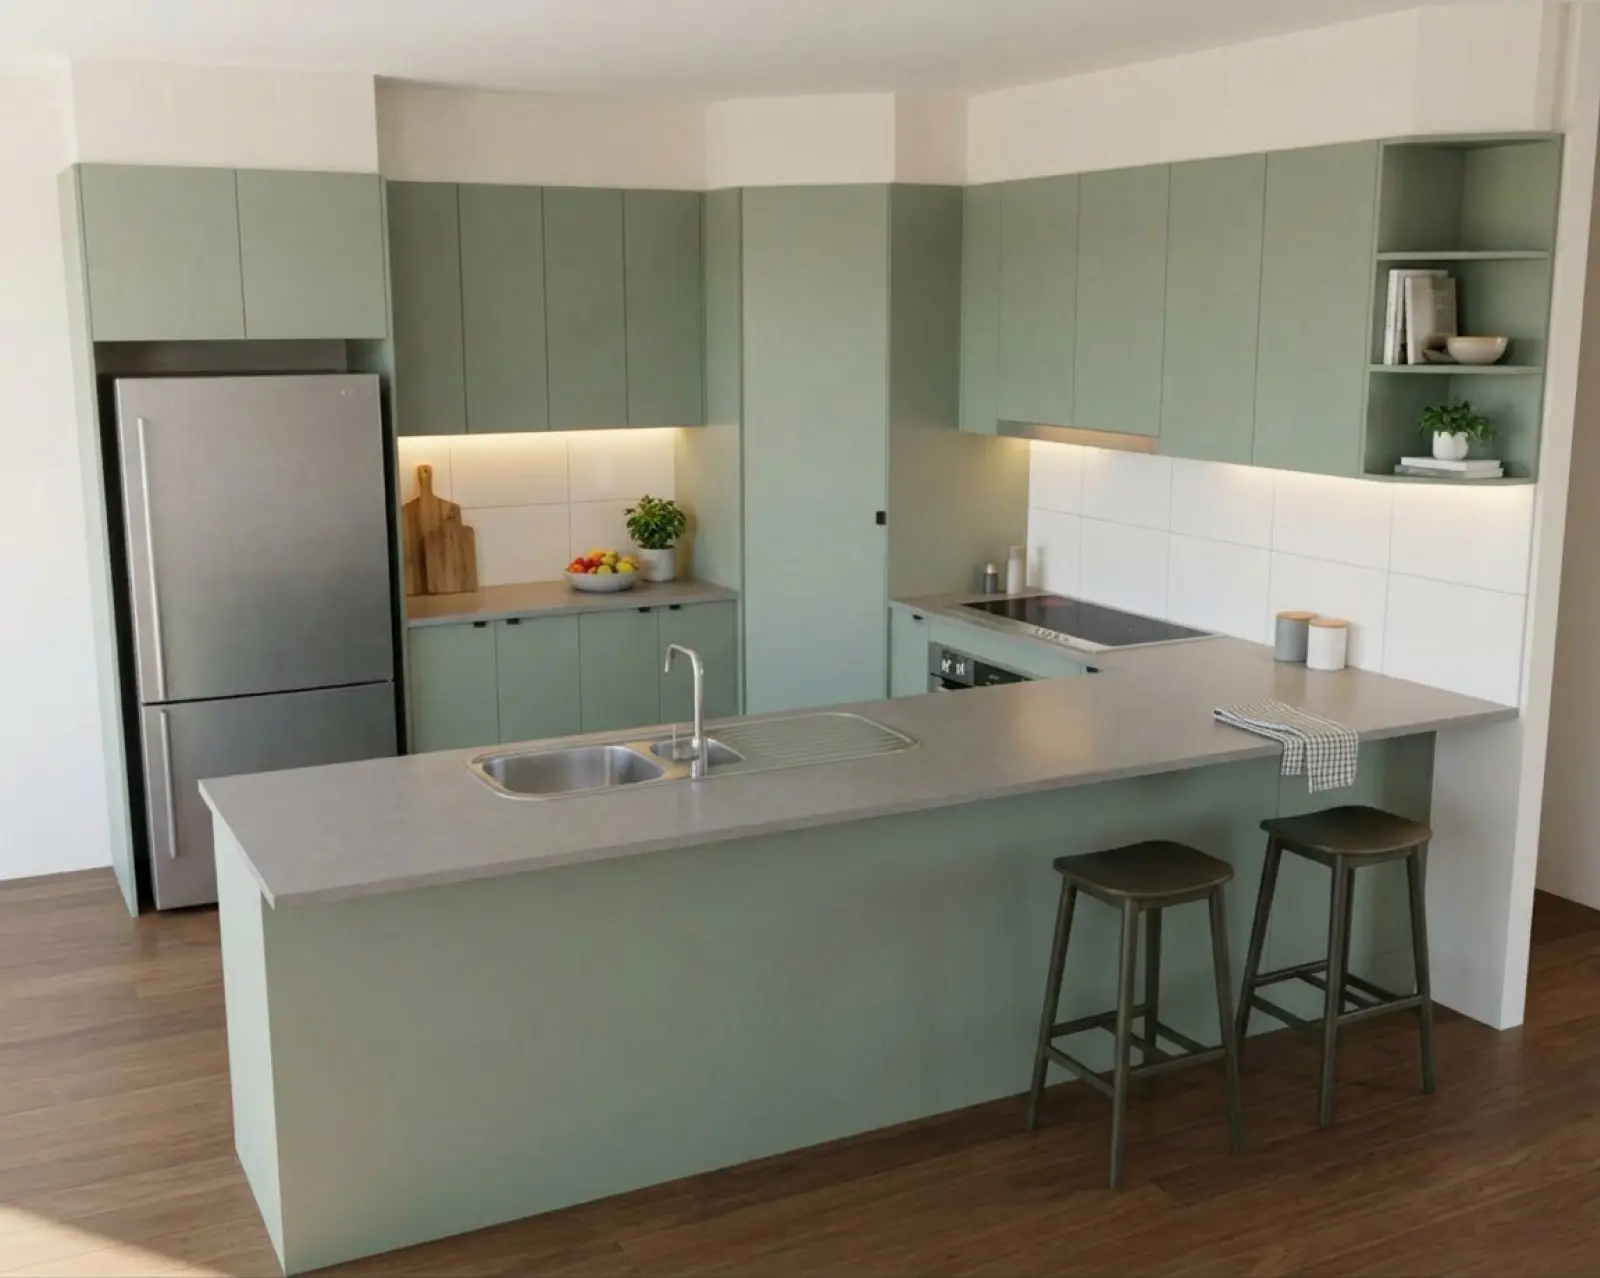
Renders are AI-generated. They closely match the finishes you pick, but they aren't exact. Check real samples before you order.
Make the final picture look finished
The picture you settle on is the one the customer will keep and show their partner. Two optional passes can help, both after the colours are right:
- Lighting. Daylight, warm, evening or studio, and LED strips under the overheads (upper cabinets), in the kickers (toe kicks) or inside glass cabinets. Useful when the customer has asked about lighting, or when the room reads better at night.
- Photoshoot. Stages the room the way a house is photographed for a listing, with furniture and things on the walls. The picture may shift, so it arrives as a new version beside the render you had, and that one is kept.
Then take it up to 2K. Each pass redraws the last one, so fine detail softens a little after several changes. Full size draws the same room again at about 2500 × 1700 and brings that detail back. It costs 2 credits, and if anything comes back changed, nothing is delivered and the credits go back. Do it last, once the customer has chosen.
Be straight about what it is
The render is a picture to sell the look. It is not a manufacturing drawing, and it isn’t a sign-off. Say that to the customer in plain words when you show it. It saves an argument later.
- It’s AI-generated. It closely matches the finishes you picked, but it isn’t exact. AI results can contain mistakes, so check every render before the customer sees it.
- Colours are confirmed on samples. Screens vary and the render puts the colour under room lighting. Have the customer choose the final colour from a real sample in their hand.
- Measurements and specifications stay your job. Nothing in the render is a dimension, a clearance or a product spec. Your drawings, quote and schedule are what the job is built from.
When someone else picks up the job
On a team, every project and every version is there for whoever picks the job up next. The person at the showroom can open the same versions you rendered in the workshop. See teams for how to invite people.
Related
Try it on a drawing you already have.
Your first five renders are free. No card needed.